
How to Draw a Four-Leaf Clover – Sketch a Lucky Shamrock
The four-leaf clover, also known as a shamrock, is a well-known symbol. Representative of luck, faith, hope, and love, it is also the emblem of St Patrick’s Day. Have you ever found one of these rare little leaves? Today, we will show you how to draw a four-leaf clover in an easy-to-follow step-by-step guide. So, grab your art supplies, and let us begin our shamrock drawing!
Instructions on How to Draw a Shamrock
When it comes to drawing the perfect four-leaf-clover, you want it to be realistic looking. So, symmetry is your best friend. Following the basic steps in this tutorial will help you to gain the very best end result along with that perfect symmetry! When you draw, it is very useful to start off by drawing construction lines. These lines are extremely important and act as a tool so that you proportions are correct. The image below will show you exactly what to expect from this shamrock drawing tutorial.

This tutorial has been created for those using pen or paint on paper, but you could even apply these steps when doing digital art because our tutorial is easy to adapt for all mediums! So, grab your pens or pencils or even your drawing tablet, and let us get started on how to draw a four-leaf-clover!
Step 1: Draw a Heart Shape
The very first step when drawing a shamrock or four-leaf-clover is of course the leaves! Obviously, as the name suggests, there are four. When you look at a clover, you will notice that each leaf is heart-shaped. Each heart’s point meets in the middle.
Draw your first heart-shaped leaf, draw it slightly off-center and ever so slightly tilted to the right.

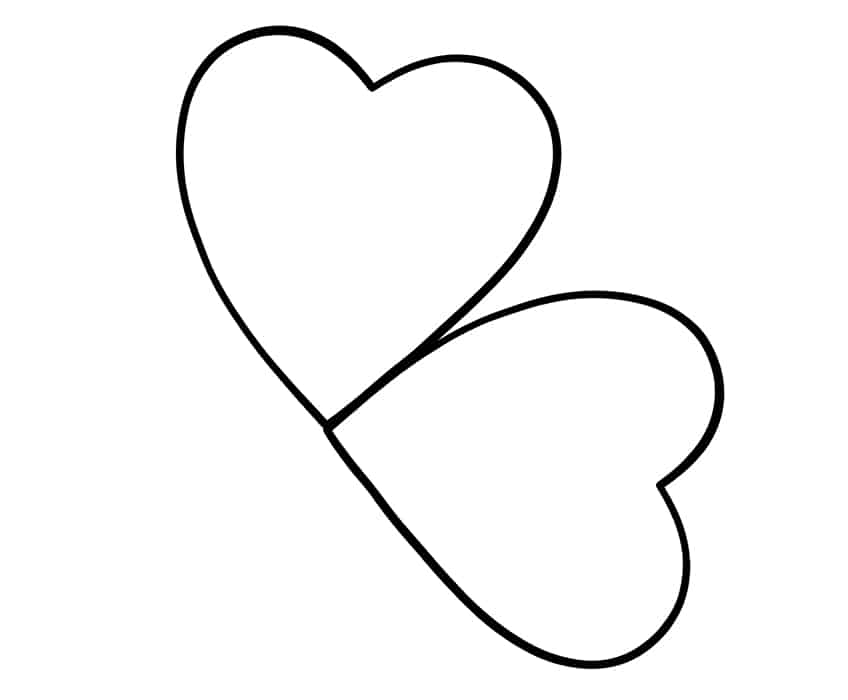
Step 2: Draw a Second Heart Shape
Just below and to the right of your first heart-shaped leaf, you will now draw another one just like it. Make sure that the bottoms of both hearts meet. As you can see by our example image below, the two leaves meet just under halfway as well.
Step 3: Draw a Third Heart Shape
Now it is time to draw the third leaf. Again, draw a heart shape, this time right next to the second. Remember to make sure the lower edges of the clover leaves are touching one another.

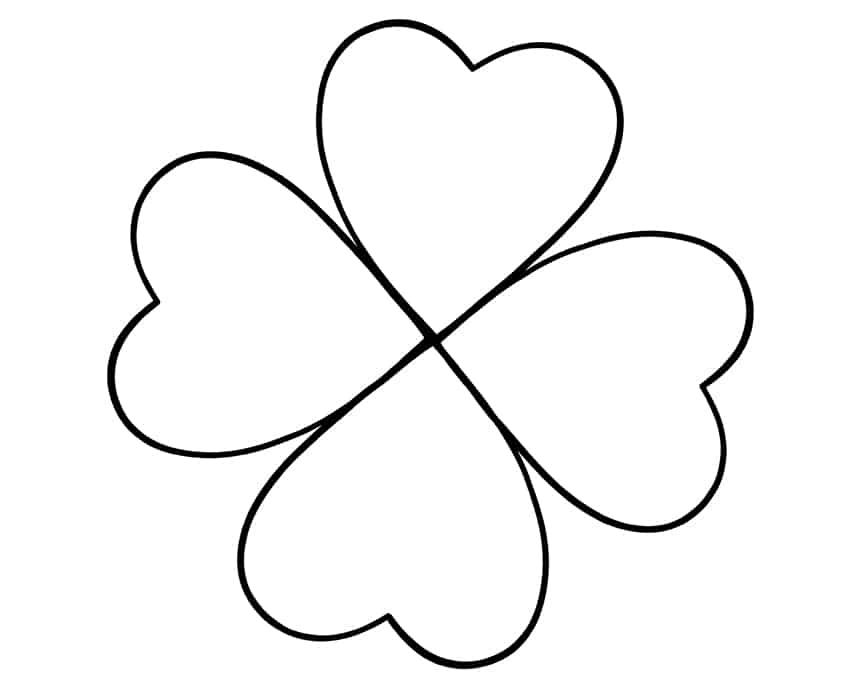
Step 4: Draw a Fourth Heart Shape
Now to add your fourth and final clover leaf. The final heart shape will fit perfectly between the last leaf you drew and the first. Well done! Your clover drawing is taking shape already!
Step 5: Creating a Stem on Your Clover Drawing
Now it is time to add the stem of your four-leaf-clover. You will need to draw a thicker line that is curved, starting between the two lower heart-shaped clover leaves. When drawing your stem, make it slightly thicker towards the end. The base of the clover’s stem should also be curved.

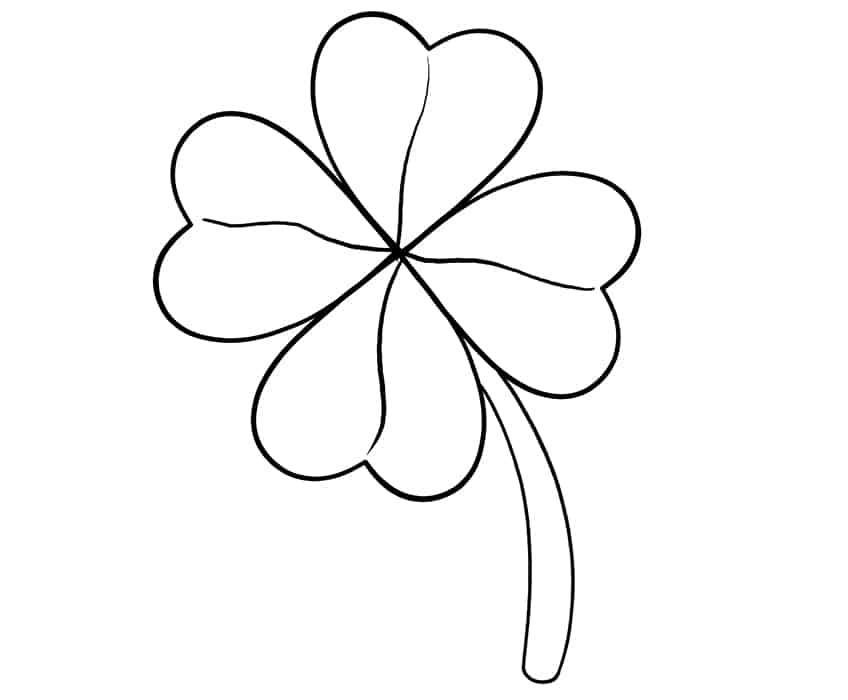
Step 6: Adding Detail to Your Shamrock Leaves
For this step, all you will do is add a small center line in each of your clover’s leaves. Start at the center of all four leaves and draw your slightly curved line, allowing it to almost touch the other end. Repeat this step for each leaf. Remember, these lines should not be perfect or exact, as leaves are never identical, and every clover is unique.
Step 7: Adding Texture To Your Four Leaf Clover Drawing
This is the last and final step before we start adding some color to our shamrock drawing! Each leaf of your clover needs more vein lines, these lines should be slightly wavy and flowing. They are best drawn freehand and should not be perfect. The vein lines will also help to add some texture to each leaf and help make your clover look more realistic when complete. Remember that these lines need to follow and flow with the stems’ curvature. Have a quick look at our example image that follows if you require a better understanding of this step.

Step 8: Adding Color to Your Shamrock Drawing
For your clover to have realistic coloring, you need to be patient and build the color up slowly with layers. You will need to color in several layers to achieve the best results. This step introduces layer one, which is a bright green shade. If you are painting, use a regular paintbrush and fill the clover leaves evenly. No matter which medium you are using, be it pen or pencil, it is very important for this coat to be even and not blotchy.

Step 9: Add Depth With Contouring to Your Clover Drawing
To make your clover appear even more realistic, take a brush and a little bit of black paint. You will now create some more depth, contouring, and structure on the leaves as well as the cover stem. You should focus your shading on the parts of the plant where shadows would fall naturally and where less light would fall. These areas include the top of the stem and the center lines.

Step 10: Adding More Color to Your Four-Leaf Clover Drawing
As we all know, plants are not uniform in color, every plant has variations and imperfections too. In step ten, we will add a bit of yellow to our clover, just to make things a little more interesting. Select a small-sized brush for blending, and dab a little yellow paint onto each heart-shaped leaf’s texture line and around the edges. Add a couple of streaks of yellow on your clover’s stem to create a highlight.

Step 11: Emphasizing the Shading of Your Clover
Guess what? We are almost done with our clover drawing tutorial! As you can see, the clover has really taken shape. However, it is not yet complete! We still need to add some more definition by adding shadow. Using a small-sized blending brush and a bit of black pigment, we can now add some enhancement to the center lines on our shamrock. It is recommended to also add a bit of shading within the stem along the texture lines. You will want the blend to be smooth, so use a dry blending brush afterward to smooth and blend the paint more.

Step 12: Adding the Final Touches to Your Clover Drawing
This is the final step in our tutorial on how to draw a four-leaf-clover! You will now erase the pencil construction lines if any are visible. This will help the clover to have a seamless and realistic finish. You can also use a sharp brush to contour an outline around your clover using the corresponding color.

And that is that! You have come to the end of our tutorial. Well done on your shamrock drawing – we are sure you have achieved a lovely four-leaf clover drawing, and we also hope you will keep practicing! May your new good luck charm sketch bring you joy and love!
Frequently Asked Questions
How Difficult is it to Learn How to Draw a Four-Leaf Clover?
Because this is such a symmetrical plant, learning to draw a shamrock is an easy project. Each of the 12 steps is very simple, making this the ideal how-to drawing for beginners.
What Colors Do I Need to use for my Shamrock Drawing?
While clovers may seem to be just “green” in color, they actually have more depth to them! On closer inspection, you will notice the variations of green and yellow within each heart-shaped leaf of the clover.
Will This Tutorial Teach Me How to Draw a Four Leaf Clover?
Absolutely anyone can learn how to draw a four-leaf-clover with this tutorial. It is a very easy-to-follow yet detailed and fun-to-learn drawing, using just 12 basic steps.

Learn more about Israel Benloulou and about us.


