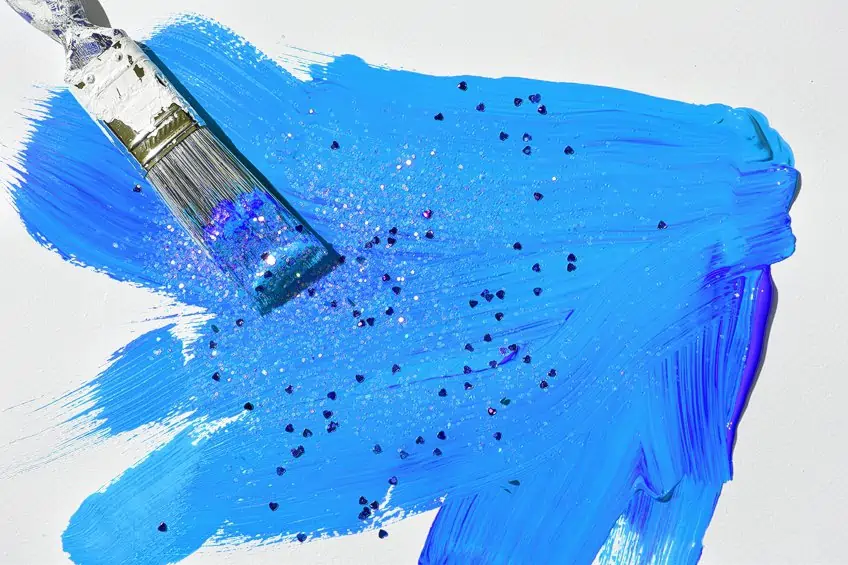
How to Seal Glitter – Different Methods for Sealing Glitter
This post may contain affiliate links. We may earn a small commission from purchases made through them, at no additional cost to you.
Do you want to learn how to seal glitter and keep it from coming off or getting on everything else? Or you want to cover your newly glittered surface or object to prevent the glitter from rubbing off? This article will help you discover a variety of methods that you can use to attach and seal glitter to all kinds of surfaces.
Table of Contents
- 1 How to Seal Glitter – Start With the Materials
- 2 The Best Glitter for Your Sparkle
- 3 Sealant for Glitter that works
- 4 How to Seal Glitter – A Quick Guide
- 5 Using a Permanent Fabric Glitter Spray
- 6 Sealing Glitter With Hairspray
- 7 Sealing Glitter with Fabric Glue
- 8 What Surfaces Can You Add Glitter to?
- 9 Frequently Asked Questions
How to Seal Glitter – Start With the Materials
If you are keen on working with glitter and glue for the first time, then the information in this article is for you. Before you begin your quest, you will need a few items in your art bag. A little bit of experience and some good-quality tools are needed to make incredible projects. Below is a list of some of the best choices for how to attach and seal glitter.
The Best Glitter for Your Sparkle
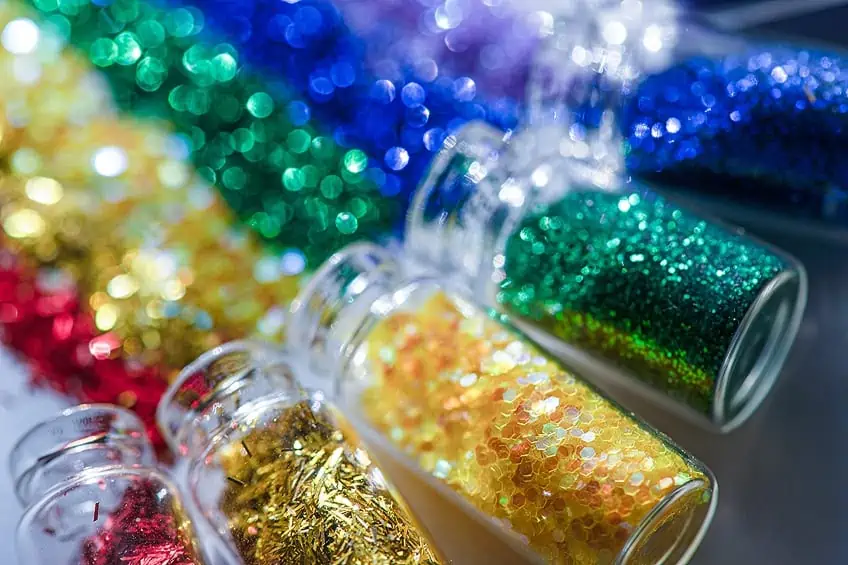
It is quite tricky to choose from the various brands and types of glitter available. The final look of your project is influenced by the size of your glitter particles. Glitters are available in six different sizes. When learning how to seal glitter, you will need to distinguish which type your project requires. The following is a list of glitter types:
Ultra-Fine Glitter
This is the smallest glitter size. Ultra-fine glitter forms a sparkling haze image when suspended in the air. The particles that make up this type of glitter are extremely small. If you use ultra-fine glitter on objects, they produce is a smooth sparkly surface.
Ultra-fine Glitter is suitable for delicate projects and objects that are viewed up close. The effect is somewhat diffused when seen from a distance. This type of glitter is available in various shades of the rainbow. Be warned, that this glitter can be quite difficult to work with as it spreads everywhere when spilled. Although made of the the smallest particles, this is also the most expensive type of glitter.
Extra-Fine Glitter
The particles that make up extra-fine glitter are quite small, but a bit larger than the ultra-fine glitter. Extra-fine glitter can appear almost indistinguishable from ultra-fine glitter. The difference however is very apparent in the price tags. Extra-fine glitter is more affordable compared to the extra-fine type. In terms of economics, extra-fine glitter is an obvious choice if you want your project to have a sparkling sheen without obvious glitter particles.
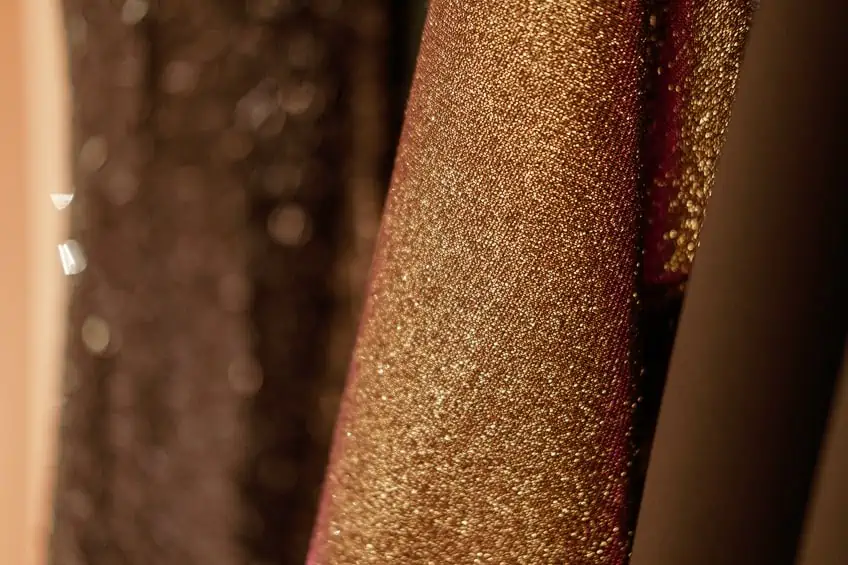
Note: Hair clips, belts, bracelets, and so on are often manufactured with extra-fine glitter on them. This type of glitter is commonly used in the fashion industry.
Fine Glitter
This is the top-rated type of glitter due to the ease with which it can be cleaned, the great coverage it offers, and the variety of colors it comes in. It is very versatile and can be used for most arts and crafts projects, party decorations, and so on. This is the most popular type of glitter with particles that are easily noticeable. When it comes to accidental spills – fine glitter is far easier to clean up when compared to the ultra- and extra-fine types. The only thing fine glitter lacks is the incredible sheen offered by extra- and ultra-fine glitter types.
Medium Glitter
This type of glitter is designed to cover a large surface area, and is often used on stage props and theatrical costumes. The particles that make up this type of glitter provides a sheen that can be seen at least ten feet away. While their color range is limited, this type of glitter is not only easy to clean, but also very affordable.
Large Glitter
This type is perfect for projects meant to be viewed from a distance. Their sparkle resembles the reflective capacity of water, providing a continuous play of light across a surface. As with medium glitter, the range of colors in which it is available is also quite limited. However, large glitter provides fantastic visual effects at a reasonable price.
Extra-Large Glitter
This the largest glitter type with particles sized a quarter-of-an-inch. Its method of application is quite different from the one used for small glitter sizes. It can either be attached to an object with particles glued on individually, or used as a type of confetti. The sparkle from this glitter is visible from as far as 20 feet away. It is a favorite of event planners, as it is suitable for both indoor and outdoor applications.
Sealant for Glitter that works
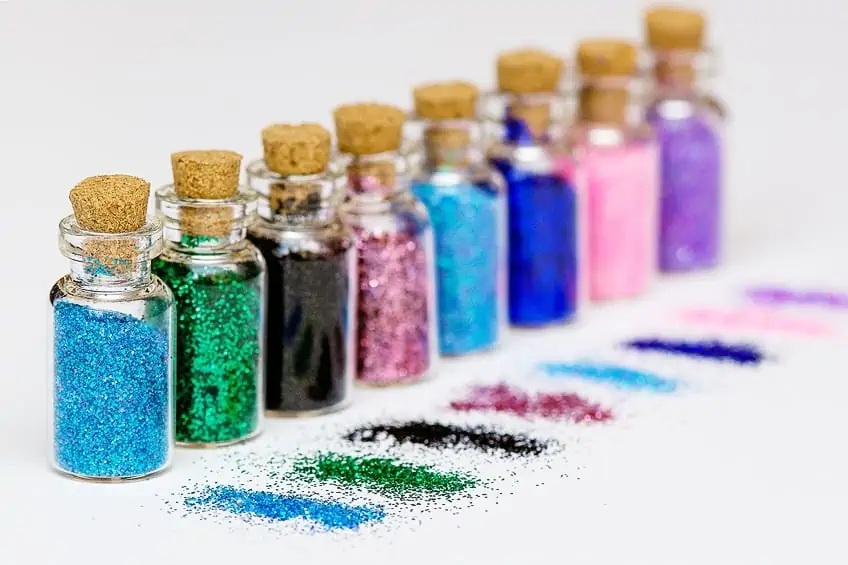
It is advisable to securely adhere your glitter to your surface and seal it properly. Pour-on epoxy coating and mod podge glue are the best options you can use to seal the glitter. Want to know how to seal glitter most effectively? Check out the following products.
Overall Best: MOD PODGE Sealer, Glue & Finisher
This product contains glue and finisher in one, so it has a variety of uses besides gluing glitter. This product will seal the glitter after gluing it, adding an extra sparkle to the finished product. Mod podge turns clear when it dries, so it is suitable for most surfaces like paintings, plastic, wood, and so on.
This is a water-based formula that is water-resistant and permanent when it has dried. It dries within an hour. You can easily clean it with soap and water because it is water-based. You can also tint the mod podge by adding dry pigment, acrylic paint, or watercolors. Sometimes it dries a bit tacky. You can prevent this problem by applying an acrylic sealer.
PROS
CONS
- Does not always dry hard
Best Pour-on Epoxy Sealant: ENVIROTEX Lite High-Gloss Epoxy
One single coat leaves a professional, smooth, and glass-like finish. It is a high-quality epoxy coating that is water-resistant and heatproof. This product is a perfect choice for glazing on most surfaces. It is also solvent-free. This is the best sealant for protecting your indoor and outdoor environments. A single coat for this product is the same as 60 coats of varnish. If you want to know how to seal glitter very effectively, then this product is a great start.
PROS
CONS
- Turns yellow if exposed to too much sunlight
- It requires two parts to be mixed
Best Glitter Sealer Spray: KRYLON Triple-Thick Crystal Glaze Spray
You will not regret using this glitter sealer spray for your glitter projects. It dries fast and will be dry to touch within 15 minutes. The product will dry fully in two hours. This is an easy high gloss finish and glitter spray.
When the product dries, it will become permanent and will not be prone to cracking. The spray tip can prevent overspray, so you will end up using less sealant. You do not have to press too much on the spray tip as you do with other spray bottles. A single spray of about 11 oz is capable of covering 20 sq. ft.
PROS
CONS
- A bit expensive
How to Seal Glitter – A Quick Guide
The process of applying and sealing glitter to a surface is determined by the medium type. Are you adding a glittery sheen to a glass vase, or are you jazzing up an old item of clothing? The answer to these questions will determine the preparation, method, and aftercare of the project. Want to know how to seal glitter? Check out the following steps.
Preparing for the Glitter
Before you get started on your glitter project, there are a few things you must consider so that you can have a cleaner process. Your workspace must be a place where you can clean up easily after completing your work. It is advisable to do the process on a smooth surface, this prevent getting bits of the glitter stuck in the grooves and corners of the table.
Ensure that the work area has a surface or floor that you can easily be swept. A large tray on which to work can be very useful. The tray will catch all the excess glitter that failed to stick to the surface. This is a good money-saving strategy as any glitter you keep from the dustbin can be used in the next project
How to Seal Glitter on Glass
Using glitter to revamp old objects and solid surfaces can be an effective way of decorating and playing around with sparkles. However, it becomes a different story if the glitters do not stay where they are supposed to. So, how doe one seal glitter on a surface such as glass? There are different methods you can use for sealing glitter to specific solid surfaces. Here are some of the tips and tricks that you can use when learning how to seal glitter to glass
Painting with Glitter Mod Podge
This method will be suitable for you if you want a quick method that is easy to follow. Additionally, it prevents you from making a lot of mess when sprinkling your glitter. This glitter paint for glass is also suitable for various other surfaces. For this method to work effectively you will need the following items:
- Foam brush
- Clean glass object
- A glitter mod podge of good quality
- Favorite glitter in any shape or size
This is the best glitter paint for glass, and it makes the whole process easy. If you want to enhance the shimmer and coverage, then make sure you make a mixture of a greater ratio of the glue compared to mod podge. Then use the foam brush to apply the glitter mod podge mixture to the glass surface, ensuring that you completely cover the whole surface area. You can also use this method on wood or plastic, it will work as effectively as it does on glass.
You can apply a few coats depending on your preferences and the amount of glitter you have added to the mixture. The number of coats also depends on the coverage. If you need to cover a large surface area, then you might need more coats compared to a small one. If you add more layers, then you should wait for each glitter layer to fully dry before applying the next one. Mod podge dries to a tacky finish.
This mod podge occasionally produces a dull glitter sheen. If you end up with a a dull finish, you can use a clear spray-on sealant to give your surface or glass object a smooth and glossy finish. A sealant from Krylon is the best choice.
Sprinkling Glitter Onto the Project
When sprinkling glitter you will definitely need a tray to catch any excess for later use. This method produces a smoother finish than when you apply the glitter. As the glitter is not mixed into the glue the result is a wonderful sheen. This method of glitter adhesion and sealing uses the same equipment and products as the one above.
You should use a foam brush to apply the mod podge onto the surface of the object. When you are done you can put your object on the tray and sprinkle the glitter all over the covered areas. Leave the layer to dry once all the mod podge is completely covered with glitter.
You can also repeat this process if you want your coverage to be opaque and strong. Ensure that the first layer is dry before you attempt to add another layer.
When you are happy with the level of coverage and sheen you have applied, then you can seal the surface. The glue dries clear, so you should apply the last layer to seal the mod podge. A high gloss mod podge will leave a beautiful, smooth surface. Since the mod podge can dry tacky, it is advisable to use a spray-on glaze sealant to finish your piece.
Adding and Sealing Glitter on Fabric
The process of adding glitter to your clothing is a very enjoyable hobby. You can give a new sparkle and look to old, boring clothes by adding glitter. However, compared to other surface types, it can be challenging to ensure that glitter adheres to fabric. This is because clothing items are frequently washed which will disrupt the adhesion of the glitter particles to the fabric. The products that you use on your fabric affect the durability of the glitter on your fabric.
Using a Permanent Fabric Glitter Spray
A permanent fabric glitter spray is the best option for adding glitter to a surface and ensuring that it stays there. Fabric glitter sprays are specifically manufactured for use on fabrics. This makes them more suitable than any other option. Follow package instructions to ensure that you get the best results.
Sealing Glitter With Hairspray
If your clothes are shedding glitter, you can use fabric glue to prevent further glitter loss. Hairspray is also a quick option that can effectively work. Most hairsprays are readily available in our homes which makes the process cheap and easy to do.
Hairspray tends to dry quite fast, making it perfect for this method. It is a quick fix that seals glitter to fabric. However, you must be cautious when dry cleaning these clothing items because the glitter might come off. This method is a temporary fix only.
Take the piece of clothing that must be fixed into a well-ventilated area. Lay it on a clean surface and spray a layer of hairspray on the glitter that you wish to seal. You should hold the hairspray can at a distance of ten inches away from the fabric to get the best coverage. It dries very quickly but will not keep glitter in place for long.
Sealing Glitter with Fabric Glue
To get a permanent glitter seal option, you can also use durable fabric glue. You can use this method in the same way as the mod podge and glitter method. Lay your clothing on a flat, clean surface before you commence your work. If you want to adhere glitter to a surface and seal it, then you should paint the fabric using the mixture of glitter and glue in your desired design and pattern. The glittered fabric must be left to dry for 24 hours. Only apply your glitter and glue to fabric that is clean and completely dry.
What Surfaces Can You Add Glitter to?
There are a lot of surfaces and items that you can add glitter to. These can range from party dresses to Christmas decorations, it all depends on you! Glitter can make a big difference to your world. You can also use mod podge to add some glitter to your hair clips and pins or to create fantastic party hats or gift bags. You can even go the extra mile and add glitter to your phone case.

Add a Dazzling Sparkle to Your Step
Another exciting DIY glitter project that you can work on is your shoes. Yes, provided you seal them properly when you are done, you can apply glitter to your shoes! So, how i this done? The glitter paint can be made from a the mixture of mod podge and glitter discussed above, then use it to paint your shoes. You can also paint mod podge directly onto your shoes and then sprinkle the glitter on top.
You can create beautiful patterns with different sections of colored glitter. To prevent colors bleeding into each other, sections should be done at different times. Mod podge can also be used as a glitter sealer on your shoes or you can opt for a sealant spray. The sky’s the limit once you have learned how to add and seal glitter to your shoes. You can even make them look like Dorothy’s ruby red slippers from the Wizard of Oz!
Frequently Asked Questions
Does Hairspray Seal Glitter on Wood?
It is not advisable to use hairspray as a means of sealing glitter onto wooden projects. This is purely a short-term solution, as it will not last. This is because the wood changes colour in the long run. Seal your glitter with a thin layer of mod podge or buy a sealant spray from Krylon.
Is Mod Podge Effective in Sealing Glitter?
You can definitely seal glitter with Mod Podge, provided Mod Podge was used to apply the glitter in the first place. You can also do a second layer to seal the glittered surface. Use mod podge with a gloss finish to achieve a shiny and durable finish.
What is the Best Glue for Glitter?
This depends on what you want to stick the glitter glue to. You can use Aleene’s permanent fabric glue to stick and seal glue onto the fabric. You can also use mod podge to add glitter to your old pair of shoes, wood, glass, or any other surface. Mod podge is effective in keeping the glitter firmly in place.
How Can I Seal Glitter to My Christmas Decorations?
Most of the Christmas decorations are made from glitter that can easily fall off with time. It is quite easy to add and seal glitter onto your ornaments. You can use mod podge to apply a thin glossy layer on the glittered areas and leave them to dry. You can also opt for a glitter sealer spray like Krylon`s glaze spray to achieve a quality glossy permanent finish.
Glitter produces a sparkly, shiny, magical effect over all kinds of items. You will just need to make sure that you use the right sealer over your glitter to ensure a long-lasting finish. We hope our guide above has answered all of your questions to help you get crafting with glitter!
Learn more about Rebecca Fleming and about us.


