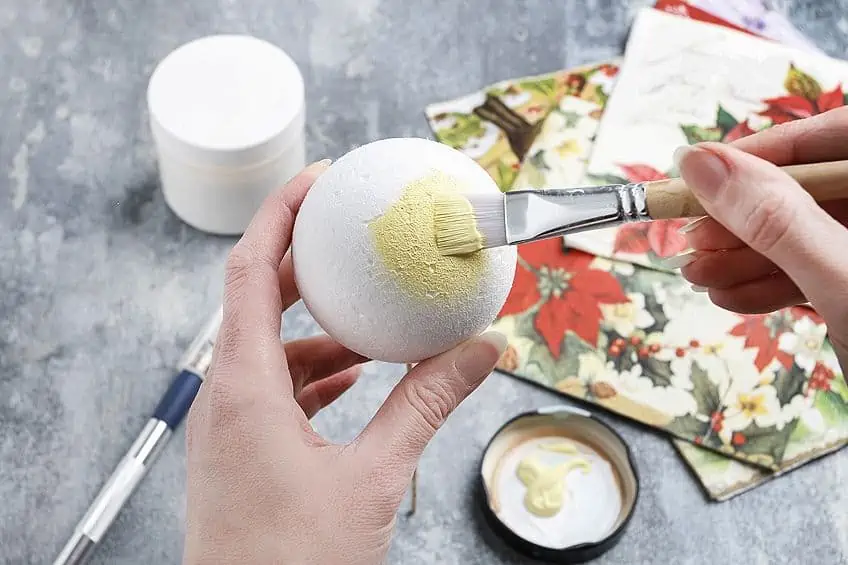
How to Paint Styrofoam – A Complete Guide to Painting Styrofoam
This post may contain affiliate links. We may earn a small commission from purchases made through them, at no additional cost to you.
Light and airy, Styrofoam is available in a variety of dimensions and can be shaped to fit almost any craft project. It is these qualities that make it such an excellent product to use on numerous kinds of arts and crafts. Originally, Styrofoam was meant for more than artistic endeavors. In fact, it was initially made for insulation and water-barrier construction projects. Have you ever really looked at it? You might have noticed how plain and boring this foam actually is, which is why painting Styrofoam is such a great idea! This article will take you through everything you need to know, from how to paint Styrofoam to which paints to use.
Table of Contents
- 1 What Is Styrofoam?
- 2 Is There a Preferred Paint for Painting Styrofoam?
- 3 Recommended Styrofoam Paints
- 4 Instructions on How to Paint Styrofoam
- 5 Painting Various Types of Styrofoam
- 6 Can You Spray Paint Styrofoam?
- 7 Frequently Asked Questions
What Is Styrofoam?
Despite what many people think, that white, porous foam you may be familiar with is not Styrofoam. Styrofoam, also referred to as “Blue Board,” is the trademarked brand name of an insulation product manufactured by Dow Chemicals. It consists of closed-cell extruded polystyrene foam (XPS) and is made of styrene. The styrene is then refined into polystyrene and a hydrofluorocarbon addition is made. After an expansion process, the Styrofoam board is ready for installation.
You are probably wondering what the white, airy foam is called if it is not technically Styrofoam. What you are thinking of is EPS, expanded polystyrene foam. This product is made up of 95% air and has been an ideal insulative companion for coffee thermoses, packaging, and industrial building projects as well.
If you are still confused about the difference between XPS and EPS, this might help. XPS Styrofoam is made by adding multiple chemical agents to styrene, which is then forcefully expanded under pressure until a solid piece is formed- usually a board or brick. EPS foam, on the other hand, is made from tiny plastic spheres and polystyrene forcefully expanded with air into various shapes. The type of foam you normally use for painting would likely be EPS, whereas XPS Styrofoam is usually used for construction materials.
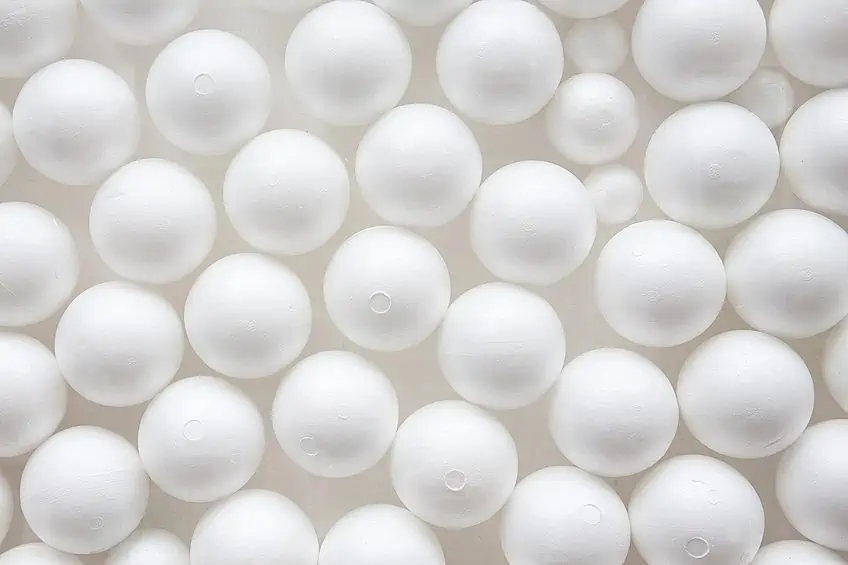
You might not be sure if you have a polystyrene foam or a Styrofoam product. To check, simply look for the word “Styrofoam” on the back or bottom of your item. Alternatively, you may find a Dow Chemical logo. Neither product is traditionally recyclable or biodegradable, although you can recycle it at specific receptacles. Styrofoam can be put through a rigorous heating process where it reverts into solid pellets of polystyrene. These pellets can then be made into items like mirror frames, clothes hangers, and food packaging.
Is There a Preferred Paint for Painting Styrofoam?
You may be wondering to yourself, can you paint Styrofoam? The answer is yes! The best part about Styro painting is that there are endless possibilities for creativity. As fun as the Styro painting process can be, it is vital that you use the best products possible for the job. Doing otherwise will lead to catastrophe.
One aspect of major importance is choosing the appropriate type of paint. Not all Styrofoam paints are created equal, and some paints cannot be used at all. In fact, if a paint is Styrofoam friendly, it will mention it in the product description.
We have tested a variety of different kinds of Styrofoam paints and can conclude that the best paints for Styrofoam are acrylic and water-based. These are the two most common types of paints, so you will never fail to find the color you need.
Remember that Styrofoam is made from plastics and oils. If you use a paint that is not made specifically for it, such as one with chemicals that work against oils, the results could be disastrous. Thus, you should avoid using paints with solvents, as these types of paints will eat away at the foam, rendering your creative project useless. Reading the label will help to avoid any major mishaps.
Recommended Styrofoam Paints
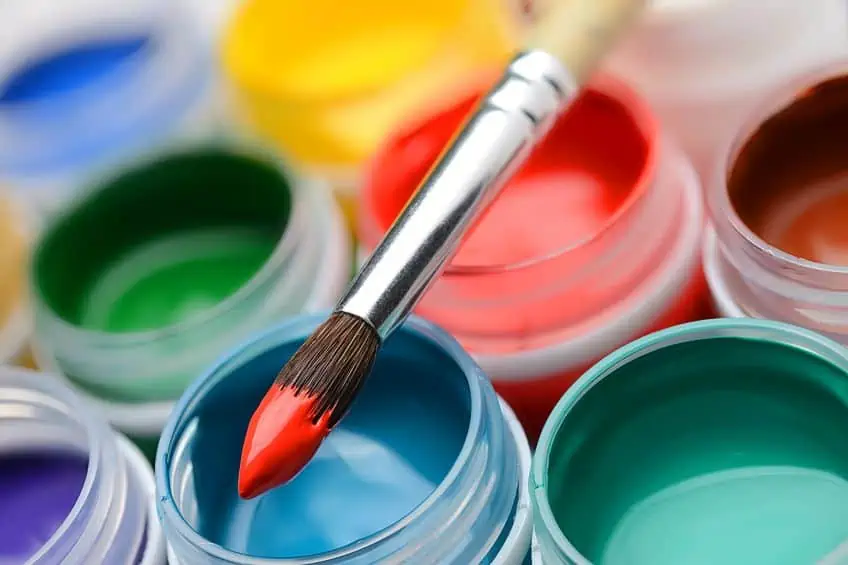
We mentioned that acrylic and water-based paints are the best options for Styro paint. You will also need a high-quality primer and sealant to complete your craft project.
Instructions on How to Paint Styrofoam
As you may have realized by now, painting Styrofoam can be a little tricky to figure out if you have not done it before. However, we have taken all the guesswork out of the process for you! All you have to do is follow our simple instructions below to quickly learn how to paint Styrofoam.

Preparing Your Area and Using the Correct Materials
Before you begin any project, you will have to prepare your surface and gather the proper materials for the job. The same applies to painting Styrofoam. Make sure that you have plenty of newspapers, tarps, or old clothes and rags to cover any surfaces. You do not want to get paint, primer, or sealant on certain items, so ensure that they are covered properly. Some things we would recommend to prepare your project and area include:
- An appropriate paintbrush
- Your choice of Styrofoam acrylic paint, primer, and sealant
- Various-sized foam brushes
- Paper or plastic cups and plates
- Newspapers or tarps
- Fine-grit sandpaper
Selecting the Best Primer
While some artists will not use a primer before painting Styrofoam, most professionals would advise it is a necessary step. Applying primer before painting will give a much smoother finish. Considering that not all paints will give equal coverage, using a primer will also ensure that any Styro paint you use will adhere well. Besides the product we recommended above, other great products for Styro primers include plaster of Paris and Mod Podge.
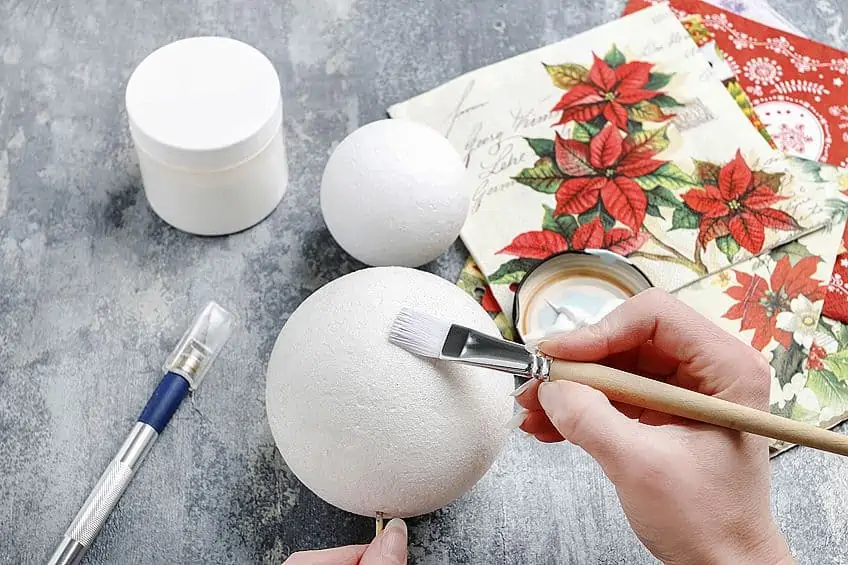
To apply the primer, you will use either your foam brush or your paintbrush of choice and start with a very thin first layer. After letting that first thin layer dry completely, you can lightly sand the Styrofoam item. This will fill in any tiny cracks, making the item perfectly prepared for a second primer coat if necessary.
As always, you must ensure that the primer is completely dry before sanding or painting. You are now ready to apply your first coat of acrylic paint!
How to Choose the Best Styrofoam Paint
Offering the largest variety of color options, using acrylic paint on Styrofoam will yield the best results for your project. Depending on the size of the item you will be painting, you might need more than one bottle of paint. Always remember to purchase the correct amount of paint, as this will prevent you from having to stop in the middle of your project, which could result in patchy areas.
You also need to consider how many coats of paint you will require. Project size is extremely relevant to the amount of acrylic Styro paint you will need and smaller projects may be fine with using just one bottle. As we previously mentioned, there are specific types of paints that will work best for your Styro project.
Never use regular enamel sprays or paints with chemical thinners on Styrofoam, as this will eat away at the foam.
Using your paper or plastic plates or cups, pour a small amount of your acrylic Styro paint and dip your brush of choice into the paint. Ideally, you will never have more than a small bit of paint on your brush before starting to apply. You can begin by using small strokes and applying the paint in an even layer across the entire item. If there are any cracks or small porous holes, ensure that thesee are also covered well.
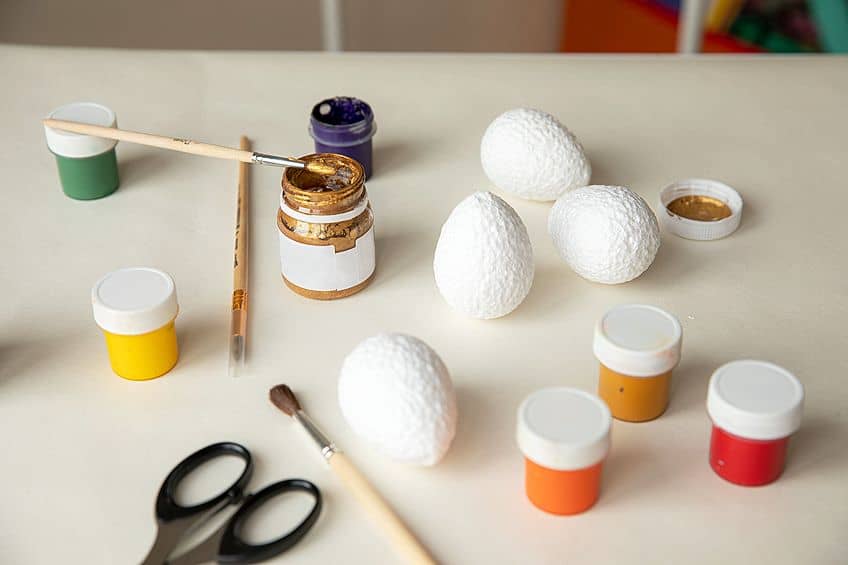
After the paint has fully dried, which may take up to 30 minutes, look to see if there are any remaining visible white spots peeking through the color. If there are, you will need to apply a second, and possibly a third coat of paint, allowing for the item to fully dry in-between each layer. If the paint is not allowed to fully dry, there may be peeling or cracking at a later stage.
Finally, you may be wondering whether you need to finish the project with a sealant or topcoat. This option is entirely up to you and depends on how you will be displaying the Styrofoam item. You may have used three or four layers of paint and do not require a waterproof finish. If this is the case, you do not need to use a sealant or a topcoat, and your project may be finished at this point.
However, if you wish to create a high-gloss finish with a waterproof topcoat, you will want to use an acrylic sealant. We have advised using Mod Podge, but other options are available as well and consist of using aerosol acrylic paints on Styrofoam.
You have likely asked yourself at some point, “Can you use spray paint on Styrofoam?” Thankfully, the answer is yes you can! Even spray sealants and primers are fine, as long as they are acrylic or water-based and safe for use on Styrofoam projects.
Painting Various Types of Styrofoam
With so many different things being made from this material, and each requiring specific know-how, it can be daunting not to know the best way of painting your particular project. From Styrofoam balls to Styrofoam ceiling tiles, there are various methods and paints that work best. Below, you will find some nifty tricks of the trade, as well as the best practices for both types of Styrofoam.
How to Paint Styrofoam Balls
There are a plethora of options available when it comes to making something out of various sizes of Styrofoam balls. Tiny people, snowmen, delicious-looking fake cupcakes, planets, baseballs – the possibilities are nearly endless! Working with round objects may seem daunting, but we have all the tips and tricks you need for learning how to paint Styrofoam balls.
The above-mentioned steps of using primer and paint, followed by sanding and a sealant may not provide a smooth enough surface over round Styrofoam balls. If that is the case with your project, the following steps below will help to make your item as perfect as you imagined:
- Instead of using primer directly on the Styrofoam ball, brush a light glue over the area and cover it with a smooth fabric. Then proceed with primer and paint as normal.
- Rather than using an aerosol primer or Mod Podge, try using a Gesso primer. This will yield smooth results.
- Before using primer, take another Styrofoam ball and rub the surface against the Styrofoam ball you will be working with. This is essentially pre-sanding, but with a much lighter and less drastic result.

Tips for Spray Painting Styrofoam Balls
There is not an easy way to paint a round ball with a brush or roller. Having paint drip off the sides and get all over your hands is messy. Your best option is to spray paint a Styrofoam ball if you want the best coverage possible. If you are ready to use a paint sprayer with your Styro ball, here are some helpful pointers:
- Make sure that you are in a well-ventilated area.
- Center the ball on a wooden skewer.
- While holding the skewer, spray the ball and hold the paint at least eight inches away from the item. Be sure to turn the skewer and expose all sides of the ball for full coverage.
- Place the skewer in a sturdy, upright position and allow the paint to dry for 30 minutes before applying a second coat.
- Continue this process until you are pleased with the results.
Guide for Using Paint on Styrofoam Ceiling Tiles
One of our favorite Styrofoam projects to work on is painting ceiling tiles. The opportunity to change your style or aesthetic is always available, and it is so easy to do by following our methods. To ensure that you end up with the most amazing results, we recommend using our brief guide below where we answer the most common questions.

Should Ceiling Tiles Be Painted Before or After They Are Installed?
If your ceiling tiles are already installed, you may decide that leaving them up to paint would be easiest. However, either option is acceptable. We have found that you will use less paint if you leave them installed before painting, but you may tire quickly. Painting over your head will likely cause some tiring and can be considered a tedious task.
If you choose to paint the tiles before installing them, you will need adequate space to lay them out for painting and drying. It is important to note that you will also need to leave additional paint to cover the metal strips that secure the tiles to the ceiling. To start painting your Styrofoam ceiling tiles, you will need the following materials:
- Cloth, newspaper, or tarp
- Blue painter’s tape
- Polyester paintbrush (between 2- and 3-inches-wide)
- Choice of primer
- Protective eyewear
- Angled broom
- Stool or stepladder
- Roller frame and extension pole
- Large bucket between five and ten gallons
- Paint stirrer stick
Getting Ready to Paint Your Styrofoam Ceiling Tiles
You will not want to get paint on any of your furniture or flooring. In order to prevent this from happening, you will need to remove everything and lay down your tarps. Removing your furniture might not be an option, in which case you can lightly tape plastic sheets or large cloths over your furniture items. If you are using pre-installed ceiling tiles, use your broom to gently sweep away any built-up dust.

Covering Borders and Walls
Before you can begin with the primer, you will need to mark out your borders. Using painter’s tape, go around the edges of the wall where they meet the ceiling. You will need to do this for the full perimeter, or any areas on the wall or ceiling where you do not want paint.
Ready to Apply Primer
The most important step when working with a material like Styrofoam is to prepare the surface. Ensuring that you are using the correct kind of primer is essential. You will have to use a primer that is water-based and chemical-free, as using a chemical primer will result in damaged tiles.
Once you have your water-based primer ready and your surfaces protected, you are ready to begin the application. If you need to cover larger areas, you should use a roller. Smaller areas and more detailed spots will need the paintbrush to get full coverage. Keep your paintbrush nearby, as it is extremely useful for catching overspray and extra paint drippage.
You will need to let your primer fully dry, which can take anywhere from two to four hours, depending on how thick of a coat you applied and how porous the foam is. After painting, always wash your brushes or rollers with water.
Time to Paint
After you have allowed the primer to dry fully, you can begin painting. Follow the same rules as above and make sure that you are using a water-based or acrylic paint before you start. The application of the paint will be the same method you used with the primer.
Having good lighting is important when you are painting a large project and ensures that you do not miss any spots. Once you have your first full coat applied, let it dry for the full two to four hours. After drying has completed, check your tiles to see if any white spots are still visible. If so, do one more coat of paint and use the paintbrush to get into those difficult areas.

Can You Spray Paint Styrofoam?
You have read our answers to the common question of “Can you paint Styrofoam?”, to which we have given the best advice possible. But what about spray painting Styrofoam – is it possible? Absolutely! Styrofoam is available in a myriad of shapes and sizes, and can even be molded into whatever shape you desire. As great as this is for creative projects, it can make painting a difficult task to complete. There are several different types of brushes and rollers you could use which will assist, and different painting methods as well. Alternatively, you can always spray paint your Styro.
Using a paint sprayer or an airbrushing device will be your best option if you have an extremely large project. These options also work well if you have intricately detailed items to paint. Always remember that even when using a sprayer, you must use water-based acrylic paint. You may also use latex paint when spraying. Avoid any chemical paints or additives when using a sprayer or airbrush, or you will end up with a decaying lump of Styrofoam. To apply, use thin layers and even movements, allowing each layer to dry fully before applying the next.
Whether this is your first time painting Styrofoam or you have tackled this kind of project before, we are sure that our tips, suggestions, and recommendations will help you get the job done right!
View our Painting Styrofoam web story here.
Frequently Asked Questions
Can You Spray Paint Styrofoam?
One of the best ways to get full coverage on a Styrofoam object is to use a sprayer or airbrush machine. As mentioned previously, you must use water-based paint. Spraying gives your project a smoother result in the end. You will have to do more layers, but because the paint is applied so thinly, the layers will dry much faster than using a brush or roller.
Can You Paint Styrofoam?
Of course! You can paint almost any surface if you are using the correct materials for the job. The same is true for painting Styrofoam. Water-based paints are the only way you will be able to give your foam a pop of color, however. Always use acrylic or latex paint and make sure that they are free of chemicals. You do not want your foam melting into a lump of plastic.
Is It Possible to Waterproof Styrofoam?
If you have a Styro painting project that is required to remain outdoors, you may need to waterproof it. To ensure that your creative items stay around for as long as possible, you will need a high-quality sealant. After you have painted your item, apply the sealant of choice and remember to avoid solvents. You can apply two or three coats if you want to ensure absolute protection from the elements.
What Is the Easiest Way to Remove Tape Before Paint Has Dried?
One major problem you may face is if you remove your painter’s tape after the paint has dried. Doing so will result in much of the paint being removed along with the tape. To prevent this from happening, it is best to pull the tape off the walls and corners when it is still slightly wet. Wait thirty minutes after painting to begin removing the tape. After you have examined your room to see that there are no paint splatters, it is now time to remove your furniture covers and tarps. If you do have some paint splatter, you can easily remove it with a cloth and some warm water.


