How to Draw a Balloon – Make Your Own Party Decorations
Perhaps you have been wondering how to draw a balloon because you would like to draw one on a birthday card, or perhaps you are creating a scene depicting a carnival on canvas. The good news is that you have come to the right place to learn exactly how to draw a balloon! In this easy-to-follow guide, we will show you how to create a colorful and celebratory bunch of balloons on your page, canvas or wall decoration. We will look at how to shape and create the texture of the balloon and the movement of the balloon bouquet. Have fun while you follow our guide on how to make an easy balloon drawing!
An Easy Balloon Drawing Tutorial in 16 Simple Steps
Balloons represent parties and celebrations and bring color to any occasion. Today we will create a fun and bright picture of a bunch of balloons. In this tutorial, you will learn how to use basic shapes to draw balloons and how to get the correct perspectives to build layers. We will do this by layering the balloons using construction lines and steps before completing the picture using colors.
Let’s get started! First, choose the medium you prefer. You can use paint, a digital design tablet, colored pencils, or markers. Whatever you prefer!
Step 1: How to Begin Drawing Your First Balloon
Find the center of your page. To begin the drawing process, you will need to draw a slightly tilted oval shape balloon. You will be drawing 13 balloons in total, and we will be overlapping the balloons to create a layered bunch.

Step 2: Adding Two More Balloons to Your Drawing
In this next step, you are going to draw the second and third balloon shapes. Be sure to overlap each balloon over the first. The balloon on the left-hand side can tilt towards the left more than the other balloon. This gives the balloon more movement and not all look the same. You should draw the third balloon shape higher than the other two.

Step 3: Drawing the Beginning of the Second Row of Balloons
You will now draw a smaller oval shape, but this time you will place it on the far right-hand side. This balloon should be tilted to the right, opposite the left balloon. Above the two balloons on the right-hand side, you will create a larger balloon shape. This oval shape should overlap the tops of the balloons on the right-hand side. By this stage, you should have five balloons overlapping each other.

Step 4: Creating the Next Layer of Oval Shapes
As we build up the balloon bouquet you can now add two more ovals to the bundle of balloon shapes. Repeat the same process by adding more balloons to the bundle. The oval balloon shapes on the outer edge must lean toward the direction it is on. Remember to overlap the balloons. This may seem strange, but we are busy laying down the foundation of our drawing.

Step 5: Creating Your Third Balloon Row
The bottom row of balloons should be the majority by this step. Basically, you will have more balloons on the bottom (which will become the front) row. Add two more balloons to the top row and remember to slightly tilt the balloons.

Step 6: Finishing the Top Row of Balloons
In this step you can add two additional balloon shapes on both sides of the top two balloons. Remember to tilt the balloon shapes when you draw them and to make sure the two side balloons overlap the bottom balloons.

Step 7: Adding the Center Row of Balloons
You will now add two more balloon shapes on both sides of the middle row of the balloon bunch. Be sure to tilt the balloon shapes on each side and slightly overlap the rows. Please see the image below for reference.

Step 8: Removing the Overlaps of Your Balloon Drawing
We will now begin making a three-dimensional view of our easy balloon drawing. Start with the top row of balloons. Erase the bottoms of the balloon’s oval shape where they overlap each other. Take a look at the diagram image in step 10 for extra reference. We will repeat the erasing process in the next few steps.

Step 9: Removing the Middle Overlap Lines of Your Balloon Drawing
Repeat the erasing process in the middle row of the balloon bouquet. You should erase any other overlapping lines on the sides too.

Step 10: Completing Your Balloon Drawing’s Outlines
Finally, you are coming to the end of the outline of your easy balloon drawing by erasing any overlapped lines on your balloons. Now it should be looking dimensional. Add the finishing touch with little knotted balloon air holes on the bottom of the four lower balloon shapes.

Step 11: Drawing the Strings on Your Balloon Drawing
Now it is time to draw the balloon string from each of the bottom four balloons where you added the little air holes. Then you can add more lines that must come down from the direction of each balloon. Remember there are 13 balloons, so you will need 13 string lines.

Step 12: Drawing the Knot and the Hanging Strings of Your Easy Balloon Drawing
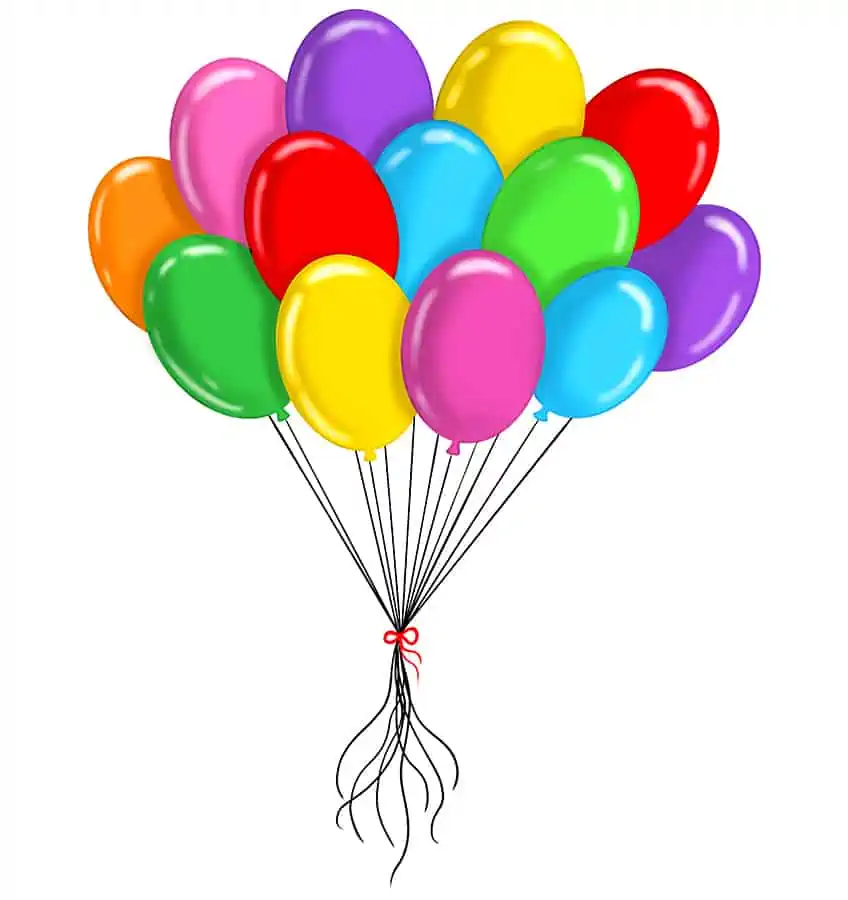
The balloon strings that come down from the balloon bunch are straight and tight. We recommend using a ruler for this step. Now, draw a knot. The remaining string from the knot area should be free and flowy. Draw a cute little bow between the knot and the flowing string ends. The diagram has drawn the bow in red, but feel free to choose any color from the rainbow for your easy balloon drawing bow.

Step 13: Adding Some Color to Your Balloon Drawing
Well done, you have completed the basic balloon drawing phase. You can now decide whatever colors you want to use; we do, however, recommend that you choose four or five different shades of color for your balloon picture or painting to stand out bright and festive. Take a small paintbrush and color each balloon with a light base coat. Be sure to go over the construction lines so they are not visible.

Step 14: Creating Depth and Dimension on Your Balloon Drawing
Now that you have completed the base coat of your balloon drawing, it is time to add dimensions and shadows to the bunch of balloons. To do this you must decide which angle will be the source of light. In our example drawing, we have decided to have the light fall from the right-hand side. This means that the shadows of the balloons will be on the left edge of the balloon bunch. Take a smaller-sized blending paintbrush and a tiny blob of black paint and add some shadows. If you are using colored pencils, gently shade into the corners of the shadows. Adding extra shading to the round and top part of the balloons will help to achieve a three-dimensional look.

Step 15: Adding Highlights to Your Easy Balloon Drawing
Now it’s time to add highlights to your easy balloon drawing. This will be the opposite effect of shading. You used black paint or colored pencil crayons to achieve the shading, so now we will do the opposite. In order to create reflection on each balloon, you will need to use select a small-sized blending paintbrush and dab it into some white paint. Apply it to each balloon. To add the highlight, you can put it on the edge of the round part of the balloon’s top. On the right-hand side, your balloons will have to highlight their right. Likewise, the balloons on the left-hand side will have their highlights on the left.

Step 16: Adding the Finishing Touches to Your Balloon Drawing
You have reached the very last step in our fun and easy-to-follow how-to-draw-a-balloon tutorial. Please erase any construction lines that are still visible. Should you be using a graphic tablet, you can simply remove this layer. If you struggle to erase a line that may be underneath paint or another medium, then simply go over the lines with the specific color of the balloon and just cover it up neatly.
Congratulations! You have now completed your first bouquet of balloons! We hope that you have thoroughly enjoyed this how-to-draw-a-balloon tutorial and that you will keep practicing your skills. Remember, trial and error will be your best teacher!
Frequently Asked Questions
How Easy Is It to Create a Balloon Drawing?
Luckily, the drawing steps for this balloon drawing are very simple. In this simple and easy balloon drawing tutorial, we show you the fun-to-follow step-by-step guide on how to draw a balloon. We will assist you with the basics of constructing your first balloon drawing and you will be set to draw balloons forever.
What Colors Should I Use for My Easy Balloon Drawing?
What colors to use for your balloon drawing is completely up to you and your personal choice. Generally, balloons are exploding with color and represent celebration and cheer, but this is your drawing, so we want you to be fun and expressive, there are no rules to art.

Learn more about Israel Benloulou and about us.