How to Spray Laquer – Complete Guide for Lacquer Spray Guns
This post may contain affiliate links. We may earn a small commission from purchases made through them, at no additional cost to you.
You have just completed your most recent project, and you step back to admire your work, whilst looking for any spots you missed – chips, orange peel, or overspray. You note that nothing is wrong, and you have achieved perfect coverage, and you know that the job is complete, but something is bothering you, and it does not feel quite ‘finished’. But what is missing? Perhaps the finish itself requires some work, a level of shimmer, something to make your piece pop, such as lacquer. It’s time to take your sprayer, clean it and get it ready to apply that gorgeous finishing coat of lacquer.
Table of Contents
Using a Spray Painter to Apply Lacquer
We always want to use our best to complete our projects, which means that often we spend so much time trying to select the correct consistency and color while imagining the finished product in our minds. Sometimes the perfect way to complete your piece is with a stunning sheen finish, and the perfect way to achieve this is to use lacquer.
So, you may wonder how best to apply lacquer? You could potentially choose to use a roller and a brush but that runs the risk of leaving brush strokes and over applying, so we would rather recommend you apply your lacquer using a sprayer.
Before sprayers were mass-produced, affordable, and versatile, you would have had to purchase a sprayer that had been specifically designed to apply lacquer, and if you were not able to afford one, you either had to get a professional to do it for you or take a risk in trying to apply the lacquer using your standard sprayer.

Luckily, these days, there is an assortment of sprayers available that can handle both standard paint and lacquer. These sprayers have a significantly higher PSI (pounds per square inch) output and come with a large spray nozzle which works well with the sticky and thick consistency of lacquer.
You will require a high-pressure output on your lacquer spray gun to ensure that the lacquer is applied effectively. The reason for this is that paint is a lot thinner than lacquer and therefore the pressure required to ensure the correct viscosity for the application of paint is a lot less than the significant volume of pressure required for the lacquer spray gun’s tip to force the substance through. This ensures the lacquer is atomized and applied adequately to the workpiece, offering you the clear protective layer that you are hoping to achieve.
HLVP (High-volume low-pressure) sprayers are the best option when working with lacquer thanks to their adjustable air pressure, which means your lacquer has enough pressure to be expelled, and the consistency it offers. This means that you are less likely to experience splatter (which can be a serious hassle to clean up).
Is Lacquer Applied Differently to Spray Paint?
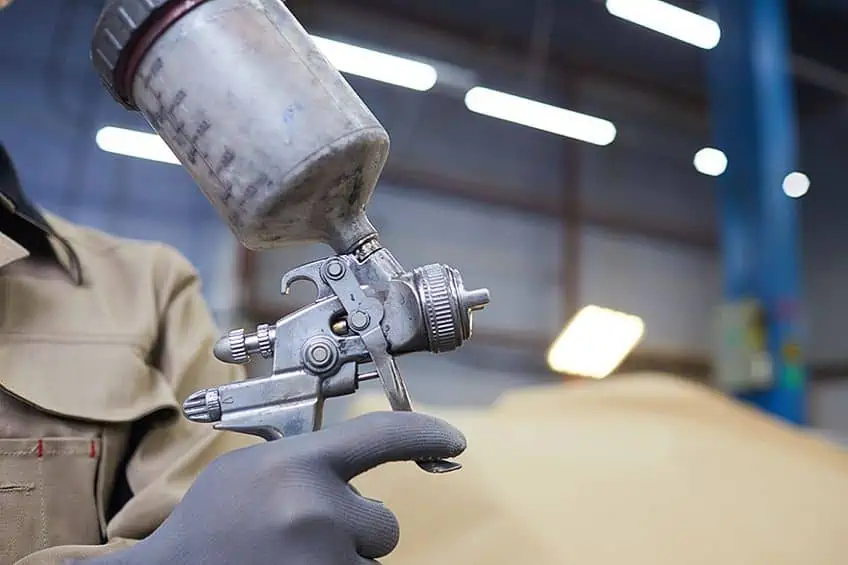
You would naturally assume that there is a specialized approach to applying lacquer as it is such a different material in comparison to paint, but actually, the application method is relatively easy. You simply decant the lacquer in your paint canister (also referred to as a hopper) , adjust your air pressure as needed and then begin the application just like you would spray a layer of paint.
There are certain techniques, tricks, and tips that can assist you with the perfect application and bonding of your lacquer, but you do not have to use them. If it is your first time working with spraying lacquer you can build up your experience and it is easy to teach yourself how to spray lacquer.
If you are working with a piece of furniture which is roughly medium in size or an item that will be living outside most of the time, you might need to apply several coats to ensure the longevity of the item and ensure your finish is preserved.

We recommend you apply the first coat and then allow it time to set. Once set, you can use some sandpaper to roughen up the surface, ensuring that you are working in the same direction as the wood’s grain. You can then apply the next layer. If you then repeat this process three more times you will be left with a finish that will last for a very long time. The lacquer will protect your surfaces from scratches and will decrease the likelihood of water damage and premature rot.
Keep in mind that lacquer has a relatively thick consistency, so if you fail to clean your paint canister and/or spray gun when you have finished applying the lacquer, you will have resulting clogs, which are particularly messy to remove. You need to clean not only the mechanisms found inside your spray gun but also the spray nozzles and tips when working with lacquer. This is because if the lacquer is not cleaned out after use, then these components will become clogged with hard, dried lacquer and will be completely useless.
A good option to the lacquer potentially clogging the tips and nozzles is to work with multiple spray tips that can be changed and detached with ease. This way you can simply take the spray tip and drop it in some solvent to clean it and just attach a new one so you can continue working.

HVLP vs. LVLP for Lacquer Application
When it comes to painting sprayers, the age-old question is which is better: an HVLP or an LVLP sprayer? At the end of the day, there is no outstanding winner, each is better suited for their relevant application, so selecting which one to use all depends on what you are trying to achieve.
HVLP: High-Volume Low-Pressure Sprayers
As previously mentioned, there are particular jobs for which an HVLP sprayer is best suited, and in terms of spraying lacquer with an HVLP sprayer, this is your best option. The reason for this can be found in its name, thanks to an HVLP sprayer processing a high volume of liquid at relatively low pressure.
At the point of atomization, you will get a consistent pressure concentration. What this means is that it ensures the liquid (in this instance lacquer) is pressurized at the spray tip until you are ready to pull the trigger, this causes it to be forced through the tip resulting in it being atomized and spraying onto your workpiece. The HVLP sprayer is loved by many hobbyists and professional craftsmen when it comes to working with lacquer.
LVLP: Low-Volume Low-Pressure Sprayers
You will require constant pressure, due to the thick consistency of lacquer, to ensure it is atomized instantly when you hit the switch. Otherwise, your lacquer will not be pressurized adequately, and this will mean that you will wait a long time, once you have pulled the trigger, for the necessary pressure to build up to force the lacquer to move through the spray tip. Best-case you will end up with lacquer messily splattered over your painted workpiece.
The worst case is that your spray gun will not be able to generate sufficient and consistent pressure to atomize the lacquer inside the spray tip. Remember that it is pretty simple to remove any cured lacquer from a single recess such as a spray tip, but removing lacquer from the whole spray gun with small, intricate orifices is particularly difficult. Spraying lacquer with HVLP is a much easier process.

Selecting the Appropriate Feed Configuration for Lacquer
This can be a difficult question to address as different sprayers are equipped with different feed configurations. A pressure feed is characterized by a separate tank that holds your lacquer. This will ensure the compressor pressurizes and channels the substance through to your pressure gun so you can apply the lacquer.
Attached under the paint gun is the paint canister on a siphon-feed. The neck of the canister feeds paint upwards into the nozzle. While on the other hand, a gravity feed is inverted. This means that the paint canister can be found on top of the spray gun with the neck of the canister feeding lacquer downward into the nozzle.
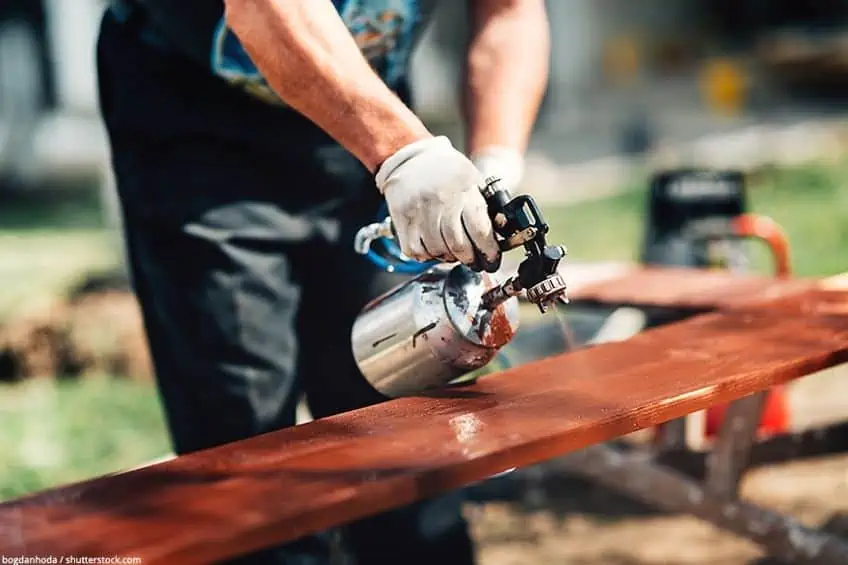
A lot of DIY-ers like this gravity feed and pressure feed configurations when applying lacquer, due to the thick consistency of lacquer.
While gravity might not be assisting with a pressure feed, it helps to have the lacquer ‘pre-pressurized’ directly into your spray gun. However, when working on a small-scale application like crafting or furniture, the gravity-feed configuration is the go-to option thanks to the advantage of having both air pressure and gravity aiding in the process. Gravity feed is also popular when tackling smaller projects thanks to the small quantity of lacquer required, meaning you will not be cleaning lacquer out of a huge canister and none of it goes to waste.

What to Think About Before Buying a Spray Gun for Lacquer
There are some amazing sprayers available that offer all the bells and whistles you could think of, this does not mean that they are good-quality sprayers. There are particular requirements a spray gun must meet to work effectively with lacquer. If the sprayer does not meet these requirements, you run the risk of damaging your whole sprayer unit. What follows are some aspects you should take into consideration before you purchase your spray gun.

Power Output
Lacquer as a solution is very dense, this means it will require substantial pressure to atomize for spraying. If your sprayer’s power rating is low, it will have difficulty in providing consistent or sufficient pressure for the lacquer. This can cause your sprayer and your feed line to clog up, which can be a huge mess to clean up. It is even messier to clean up if you have never previously taken your sprayer apart.
Another issue with using a sprayer is that low power output could result in lacquer being splattered all over your workpiece because of insufficient pressure. You can consult the manufacturer’s website or the sprayer’s packaging to determine the sprayer’s power rating. Before purchasing your sprayer, always check the power rating.
Keep in mind that the recommended output for a lacquer sprayer is 1100 PSI and higher. The higher the PSI level, the easier it is for the sprayer to atomize the lacquer.
Liquid Capacity
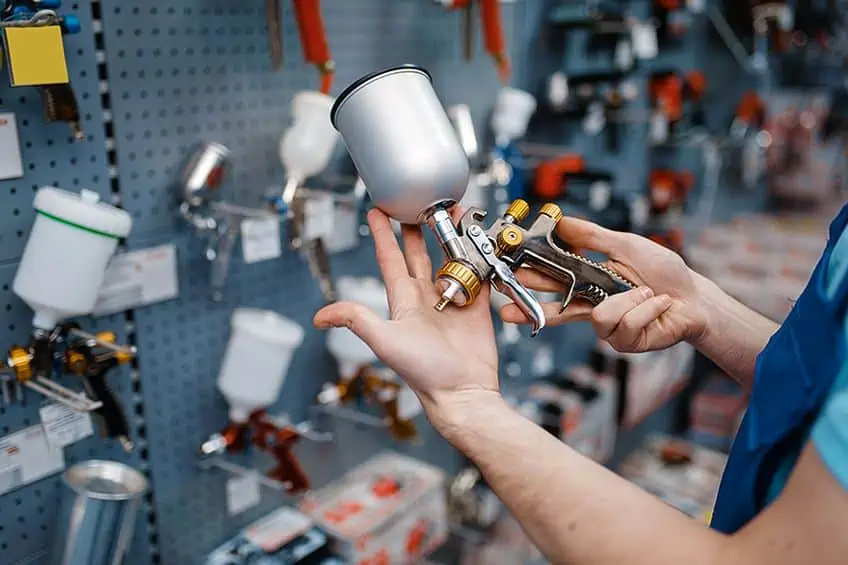
It can be frustrating when you have a paint canister (also known as a hopper) that is on the small size, but as you already have it, you are forced to use it. When you are working with a scheduled capacity plays a big role, it can be so frustrating to have to constantly refill your lacquer while you are in the middle of a pass, particularly when you have found a rhythm.
While a smaller canister than you require can slow your work process when you are expelling the last remnants of lacquer you could end up with a resulting splatter on your workpiece. Before buying your sprayer, always look at the maximum volume it can handle, and then compare this with the kind of work you would normally do. This should determine which kind of canister you will require. You will then be able to determine if the canister provided-in-box will be sufficient for you.
If the in-box canister is not sufficient for your application, you can consult the manufacturer’s website to see if your specific canister can be purchased with larger canisters. If the manufacturer does not offer one for the sprayer you wish to buy, have a look at the pressure rating and thread size of other available canisters made by the same brand.
Cleaning
Nobody likes having to deal with the cleaning. When you have spent time working hard on priming, painting, and applying lacquer, the last thing you want to deal with is to clean your sprayer. However, when working with a varnish spray gun or a lacquer sprayer, you must clean both the paint canister and spray gun.
Remember that you are not simply cleaning for the sake of cleaning. If you leave any varnish or lacquer in your sprayer it can result in irreparable damage to the primary components or even clogging of your supply line, nozzle, and spray tips. Take some time to adequately clean out your sprayer using a low-pressure cleaner, sprayer-safe solvent, or even taking the affected components and soaking them in some solvent.
While spraying lacquer with HVLP you will create a lot less residue than when using a LVLP sprayer, do not just stop there. This being said, you should do some research and practice before taking your sprayer apart (at least at a basic level) so that when you need to clean it out, you will not be beginning from scratch.
You will also need to know what removes the particular type of lacquer you are using should you make a mess. You do not want to try to use any solvent, as it could make the situation even worse. Maintaining and cleaning your sprayer is important to ensure the longevity of the machine.

Tutorial on How to Use a Lacquer Spay Gun
We hope this article has equipped you with sufficient knowledge to use a paint sprayer to apply lacquer. Remember to check the nozzle size, power output, canister size, and mobility of the unit you select, and remember safety is paramount!
Frequently Asked Questions
How Does One Apply Lacquer?
How to spray lacquer you may ask, just add the lacquer to your sprayer when you have completed the finishing coat of paint to your item. You want to give a seamless and consistent first pass with your sprayer, but keep in mind that lacquer dries very fast, so you will have to work quickly and accurately. When the initial coat has dried, you can add a coat or two, sanding down the first layer in the same direction as the wood’s grain before applying each coat. This is how you spray paint lacquer onto wood specifically.
Is Lacquer Waterproof?
The majority of lacquers will offer a waterproof layer to the materials that they are applied to. Other coatings offer a waterproof layer of protection as well, like varnish for wood, or polyurethane-based coating for furniture like outdoor furniture and countertops.
Can You Apply Lacquer Using a Spray Gun?
Of course, you can use lacquer in a spray gun, as long as the spray gun has sufficient power to disperse the lacquer effectively. The required power output for a sprayer to be able to spray out the likes of lacquer is 1100 PSI and higher. You will cause damage to the unit should you use a spray gun with a lower output to spray lacquer.


