How Long To Wait Between Priming and Painting – Optimal Timing
This post may contain affiliate links. We may earn a small commission from purchases made through them, at no additional cost to you.
When decorating our homes, the addition of some fresh coats of paint can seriously elevate the aesthetic qualities of any living space. However, there are a few things you need to know about painting for your project to succeed. The incorrect application of paint can lead to multiple issues down the line. If you want to ensure long-term paint adhesion to anything from raw or very smooth surfaces it is wise to use a primer. Primers are specialist paints designed to prepare surfaces and bind with different types of coatings. It is essential to understand the time between primer and paint. For the best results, avoid painting over primer too soon, or leaving primer too long before applying your top-coat. In this article, we are going to teach you about the ideal dry time for primer and how long to let primer dry before paint.
Table of Contents
- 1 How Long To Wait Between Priming and Painting
- 2 How Many Coats Can You Apply in One Day?
- 3 The Difference Between Primer and White Paint
- 4 Two-in-One Primer Paint – Good or Bad?
- 5 Alternatives to Primer
- 6 How To Store Paint Trays In Between Coats
- 7 Do You Have To Sand After Priming?
- 8 Two Coats of Primer vs. Two Coats of Paint
- 9 Frequently Asked Questions
How Long To Wait Between Priming and Painting
If you are using primers that are latex-based, you should expect a drying time of between 30 minutes to an hour before the surface feels solid to the touch. However, you should not begin painting over the primer just yet. To make sure that you are painting on a fully dried layer of latex primer, you should wait at least 3 hours for it to completely cure and solidify first.
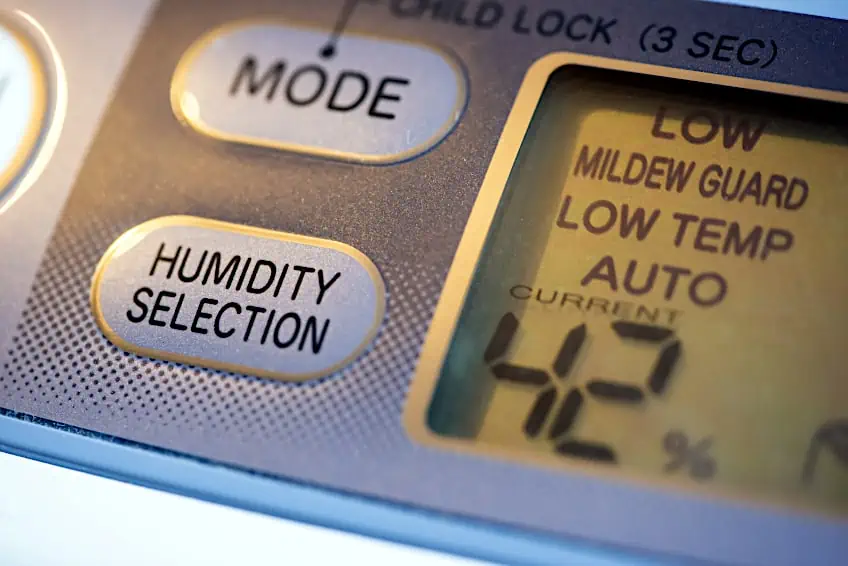
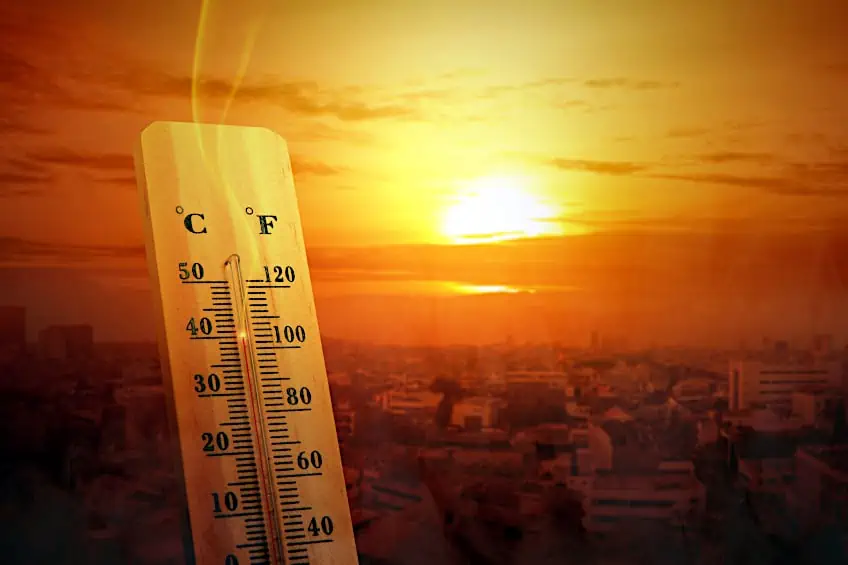
The time it will take for any primer to dry and cure will be impacted by the environmental temperature and levels of humidity. High levels of humidity and cooler temperatures will lead to longer curing times. Paint fries faster in low humidity and warmer temperatures. The ideal conditions in which to apply most primers for the most expedient drying times rest around 50% humidity and 77 degrees Fahrenheit. Understanding these influential factors is essential should you wish to learn how long to let primer dry before paint overcoats can be applied.
What Is the Difference Between Primer and Paint?
If you have ever been on the hunt for a can of paint, you may have encountered the two-in-one paint and primer mixtures that often mark the shelves of most department stores’ premium selections of paint. While these products may be good at what they do, they offer a more niche variety of practical uses that are alluded to by the namesake and any adjoining advertising. There are a few specific scenarios wherein these work wonders, but you are not always going to be working in ideal conditions. Furthermore, you might not always be willing to pay the extra costs for these premium products.
In DIY, hard work pays off greater than any gimmick utility. You are thus better off understanding primer and paint as two separate entities with different functions. Paint, for starters, you should know to provide the color, scrub resistance, hiding, and sheen. Between the two, it should also be the key component to delivering the specific aesthetic qualities you have in mind and provide the surface with several important protective attributes.
Primers, on the other hand, are applied to the substrate beforehand so that uniform coverage and proper adhesion are possible when the paint is applied. In the case of painting, the substrate refers to the type of surface that you are covering with primer and subsequently painting. True to its namesake, primer is what readies a surface (such as a wall) for the application of paint so that the latter task is more likely to be achieved with no issues. Primers also prevent stains from reaching the surface.
It is not only by our recommendation but by that of other syndicated home renovation experts that you always apply a separate primer and painting material to a surface in that respective order whenever you are painting a bare object. However, if you are maybe painting a surface with a pre-existing layer of paint on it, you might find use in just applying an all-in-one primer and painting material of a similar color directly to said surface.
There are several surfaces that you should ideally prime before painting. For example, drywall is a substrate whose surface is porous and thus too absorbent to simply apply paint directly before first applying a primer to clog up the pores and reduce absorption. Before getting started on any painting project, make sure to know whether or not the surface you are working with requires the application of primer before the paint. Doing so ought to save you money, effort, and a whole bunch of time.
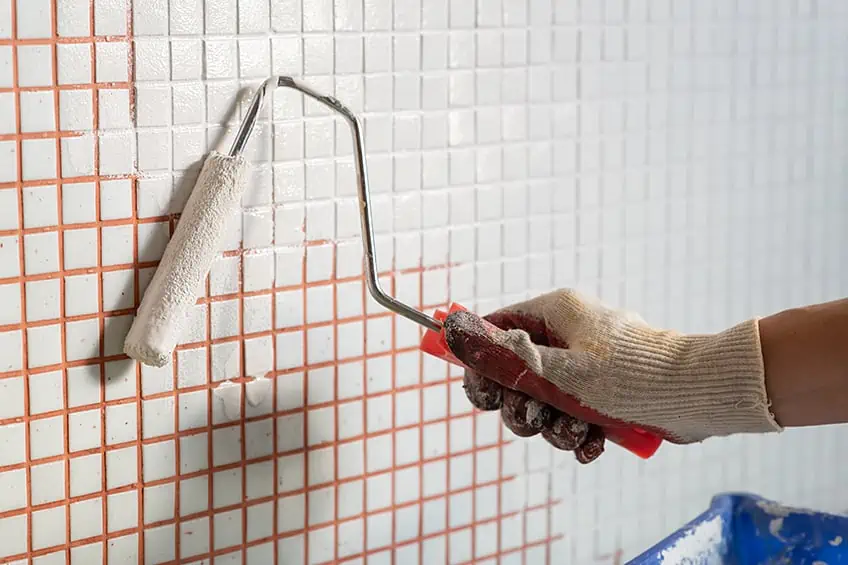
There are some kinds of smooth and hard substrates, such as PVC glass and tiles, that need to be primed with a bonding primer instead of the regular material. The standard primers that you will find almost anywhere you care to look are incapable of adhering to substrates too smooth to afford decent surface tension. The same problems will be presented to any paint that you try to cover these surfaces with, hence the importance of using a bonding primer first to ensure that the substrate will accept the adhesion of the paint.
Many primers, both bonding and regular, will contain stain-blocking properties as well, which will protect the substrate from water damage, smoke stains, and even markings from messy items such as crayons and markers. If you want to retain the earthy aromas of your wooden substrates and prevent them from absorbing atmospheric odors, you can opt for a primer that is shellac based. Standard primers do not offer this protection. If such stains and markings are resting on the surface of the substrate before a regular primer is applied, you may find that they will seep through to the surface over the course of time.
So, now that we know the difference between the two products, as well as how primers work and some of the varieties it comes in, we can move onto the primary topic of this article: how long to wait between priming and painting. One last thing to remember is that all the information found here should be supplementary to your knowledge. You should always enquire with an expert about what sort of primer best suits the project you are currently working on.
The Problem With Not Letting Your Primer Dry Before Painting
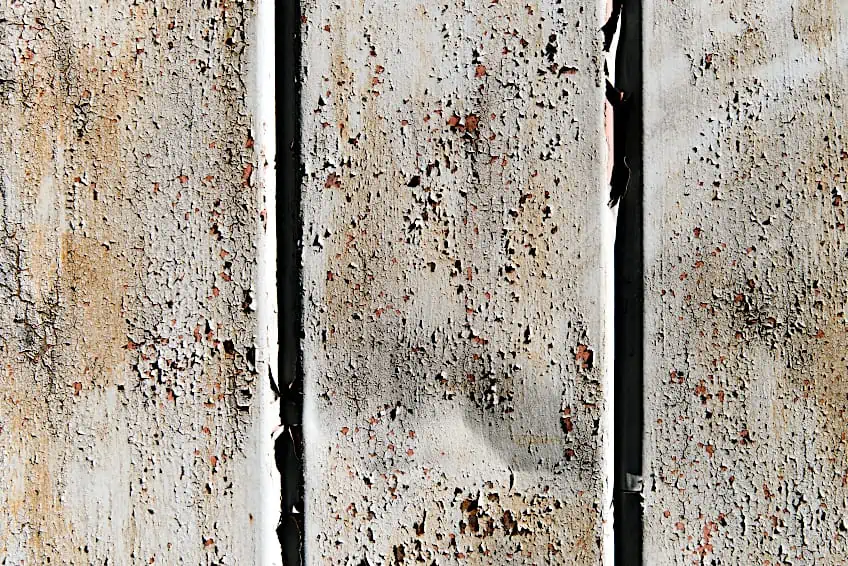
You would want to avoid applying your paint before the initial layers of primer dry completely for a number of reasons. For instance, a very common repercussion of painting on top of wet primer is the resultant peeling of the paint from the surface of the primer and thus from the substrate itself. Beyond that, you could have other issues whereby the color sets unevenly or streaks begin to form. By not adhering to the appropriate dry time for primer, you will not only ruin your paint job but also cost you both time and money.
Even as you are applying the primer itself, you need to be certain that a layer is dry to the touch before applying a second coating above it. If you are applying more than one layer of primer to your substrate (something that many experts would suggest), you need to apply your additional coats shortly after each layer becomes dry to the touch. The same goes for the subsequent layer or two of paint soon to be added.
Once the primer has cured entirely, its surface loses most of its adhesive properties. Thus, for any following layers (of paint, primer, or otherwise), they need to be applied only after the primer has become dry to the touch and before the primer solidifies to a point where its surface cannot accept a bond with another adhesive liquid like paint. The allocated time between primer and paint for whatever product or brand you are using should correspond to the time it takes for your primer to reach the sweet spot.
Most typically, however, the time between primer and paint ranges between 30 minutes to one hour in the case of water-based primers. If you are working with oil-based primers, you should expect to wait up to 24 hours for layers to dry enough before being suitably cured enough for an overcoat of paint to be applied. An important thing to note is that factors such as airflow, temperature, and humidity may affect the dry time for primer. You must learn how long to let primer dry before paint is applied on top to ensure a proper job is done.
Does Primer Work Without Paint?
The short answer is, no. We strongly recommend that you avoid using primers to coat your surfaces exclusively and without following up with a layer of paint, varnish, or otherwise. Primer, most regrettably, does not offer much if any protection to a substrate from environmental factors that may cause damage to the surface. Primer has one simple job, which is to make the surface of a workpiece more accepting of the adhesion between itself and the material you intend on covering it with.
Primer cannot in any way compete against paint or varnish in terms of protection against environmental damage. Primer deteriorates quickly and will begin to lift from the surface in flakes or a chalky dust if not painted over. This can cause a mess and damage your surface. In some instances, you may even expect to find mildew forming on the surface. So, remember that primer is good for one thing and one thing only, and that is to assist with the bond between other liquid adhesive materials and the surfaces. To avoid any undue issues while undertaking the task, make sure that you follow the advised application instructions provided to you by the manufacturer of whichever priming product you are using.
Can You Paint Without Primer?
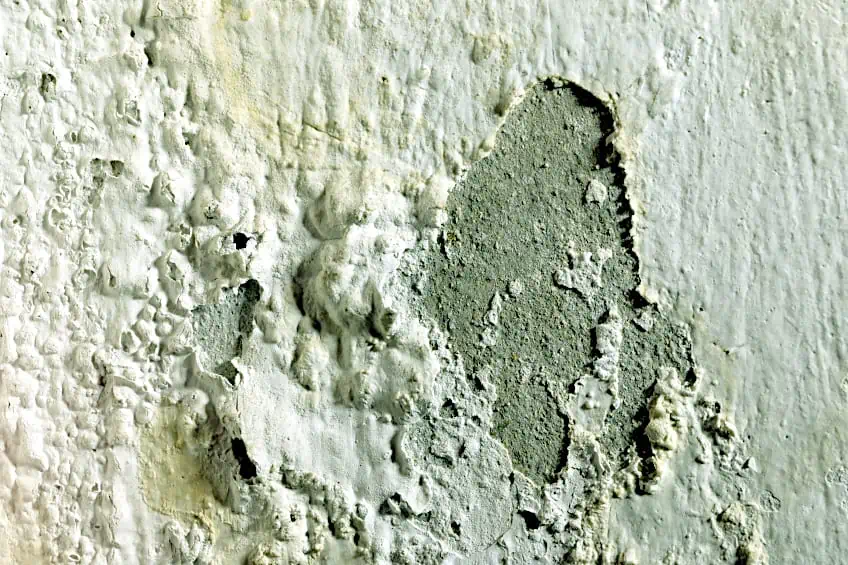
Although painting without primer affords better durability and adhesion than vice versa, this will lead you down the path toward sooner maintenance requirements and earlier product failure. Beyond that, you may also soon find the surface of your paint job developing an ugly veneer and peeling. Should such issues occur, you would have to first scrape and sand the area down before adding primer before the paint should you decide to reattempt. Not using a primer before applying paint is likely to cost you money, time, and effort so you are better off using it. The small additional cost it tacks on to every paint job is more than made up for when put to the test of time.
So how does primer work? Firstly, primer helps the paint properly adhere to the surface to which it is applied. Additionally, the primer acts as a sealant that prevents water-based paints from sinking unevenly into the substrate. Thus, primer helps you steer clear of laying down a coat of paint that will soon thereafter develop rough patches and other imperfections. Remember that paint typically costs more than the primer. So, there is no point in not using a primer as a poor job will only set you back further as it requires more paint.
With the introduction of the sealant properties afforded to the surface by primer, the paint then has a smoother, more consistent surface to rest on. This not only improves the durability of the paint but also assures a greater degree of aesthetic benefits with better uniformity in both the sheen and color. And here you have yet another reason why you would much rather prime your surfaces before painting them since opting not to do so can upset the color ratio of your final coat. Visually, these issues can be observed as the color drying with a chalky, uneven sheen or the color appearing washed out in certain areas.
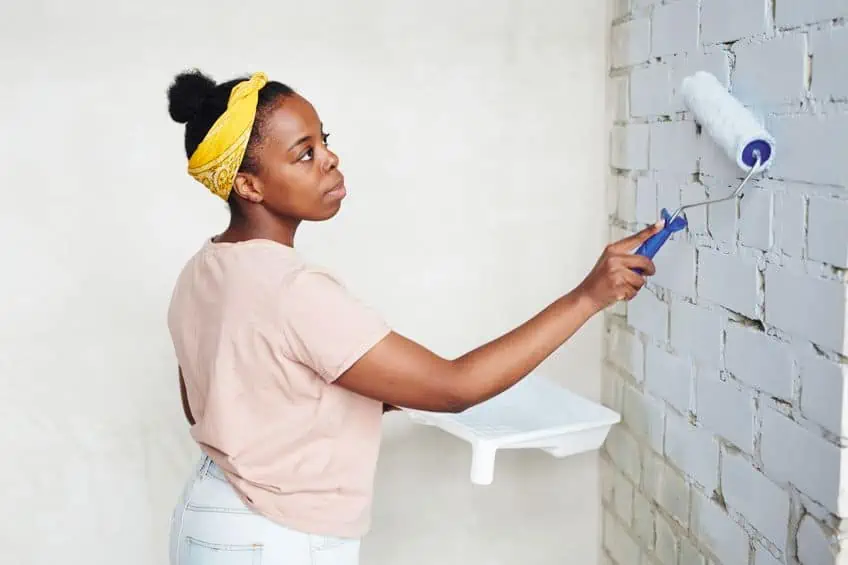
We have said it before and shall say it again, a primer is what allows the paint to achieve proper adhesion with the surface or substrate it is being applied to. Visually, the mixture of primer looks gloopy. This gel-like viscosity helps prevent all risks of peeling and without it, you will find that, especially with the lighter colors, any paint you apply will begin to fade quite quickly. Furthermore, it is much easier and hygienic to clean painted surfaces that have a layer of primer beneath them.
You may feel tempted to just use a two-in-one primer paint operating under the assumption that this uncomplicates the situation. You could not however be any further from the truth. As touched on prior, primer paint only works in a select few instances and even then can give you durability issues not too soon after application.
How Many Coats Can You Apply in One Day?
This is entirely dependent on what sort of paint you have decided to use. For most water-based mixtures, you can go forward with your second coat of paint roughly two to four hours after the application of the prior layer. For oil-based paints, on the other hand, you should at the very least wait more than 24 hours before applying the next layer.

In painting, you typically want to apply two layers of paint with the second layer then being your finish coat. As the final layer of paint to be applied to a substrate, it is key in creating a smooth finish as it fills in all the dents, curves, split streaks, blemishes, and spots on the surface of the substrate. The imperfections in the surface that are apparent after the first layer of paint will then be evened out during the application of the second coat.
Take care not to apply a second coat too soon after the first as this could ruin the finish entirely. Make sure that your first layer is dry to the touch before applying the second so as to avoid peeling, rolling, and the formation of streaks. If one day is not enough, so be it.
How Many Coats of Paint Can One Apply Over Primer?
As just discussed, you are aiming for a total of two layers of paint above your primer. That being said, this is just a standardized benchmark that you do not necessarily have to follow. Depending on the surface you are working with and the quality or attributes of the paint, you may need to apply fewer or more layers of paint than what we have suggested.
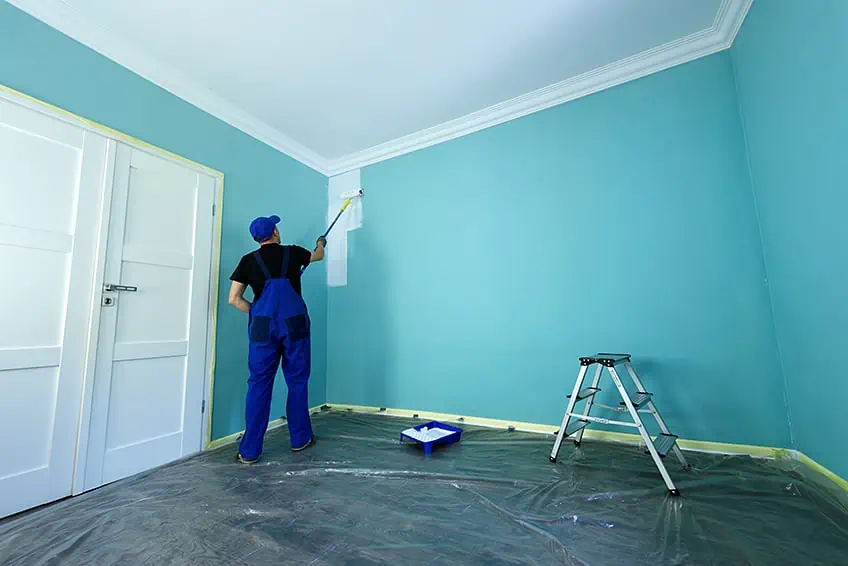
Just keep in mind that the overall cost of your project should scale up accordingly to how many layers of paint you decide to apply. One coat might sound like the most economical solution to a paint job then, but a doubled coating can last more than three to five times as long. And then there is the repainting and other maintenance to consider as well. You really are better off using a primer in most instances. Again, after reading all of this you may see the appeal in a primer paint combination but we can assure you that very few premium quality paints can be applied effectively without the use of a primer beforehand.
Beyond the structural benefits, properly applying primer and your subsequent coatings of paint will also greatly increase the aesthetic qualities of your workpiece. Again, early product failure is something to expect should you choose to skimp out on your paint layers. Primer plus multiple layers of paint will always equal a beautiful and uniform finish.
The Difference Between Primer and White Paint
White paint and primer are dissimilar in as many ways as you could care to count. While the former can offer the substrate enough durability to handle the elements, the latter is essential to forming a strong bond between the paint and substrate as it eliminates the porousness of the surface. Primer, however, cannot stand on its own and is likely to begin deteriorating shortly after its application with a coat or two of paint laid above it. Primer thus relies on paints, varnishes, and stains to protect the substrate from environmental damage while these coatings rely on primer to seal the surface and make it more accepting of a firm bond.
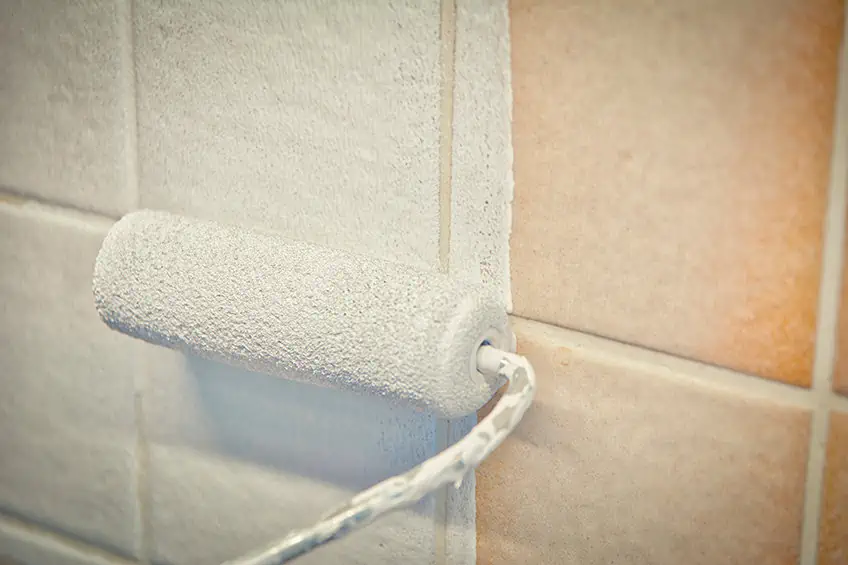
The difference in viscosity between primer and paint is very apparent even to the untrained eye, with the former containing a higher concentration of solids. The primer uses these solids to stabilize the surface and afford it greater durability. All in all, it is easy to see here that primer trumps white paint as a base coat in painting.
Can I Use Flat White Paint as a Primer?
Your primer should be your base coat. Thus, it is what readies your substrate for adhesion with the topcoat. If you are working with dark wood, the primer you apply to it can lighten its hues should this be something you are interested in. Flat paint, however, is typically applied in the end as a finishing paint.
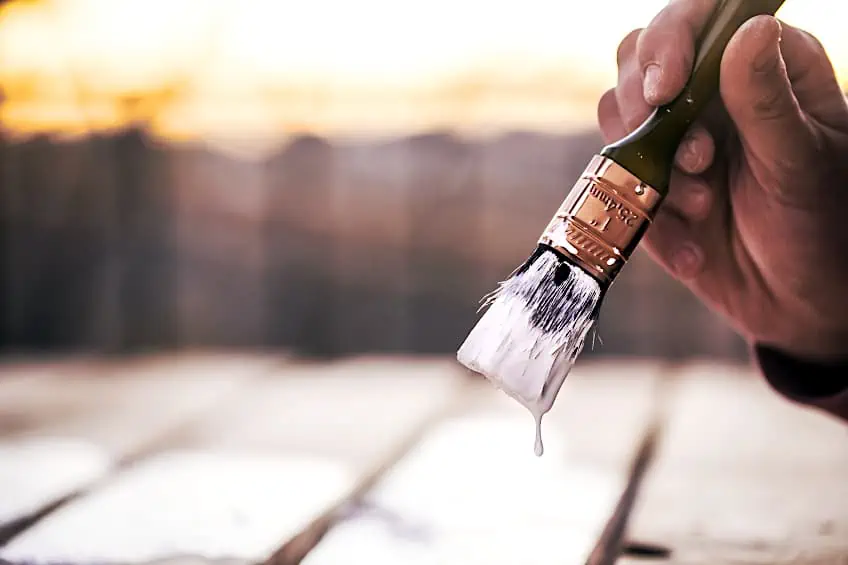
The core function of any primer is to provide a base for a coating. If you add a light coat of primer to a dark wood, for example, you can also lighten the hue. Flat paint, however, is a finishing paint. If you use the right product, it should leave an even and neat finish, especially after the second coat. Although it will not produce the perfect finish, flat white paint can be used as a primer if necessary. You would do well to take note of its shortcomings, such as the fact that it minimizes underlying colors and does not conceal flays in the veneer of drywall. You can always apply this method to make sure that you afford yourself a better finish in the end.
Blemishes from smoke and moisture will also remain visible through a finish of flat paint if you used it as both the primer and the topcoat. You would also later find fingerprints becoming identifiable on the outer layer of paint. In the end, you will have a really bad paint job, since it can just as easily set unevenly. Looking beyond the negative, however, flat paint does actually boast enough adhesive capabilities to perform in the absence of a proper primer. Both homeowners and professionals will often use flat white paint for this reason.
Two-in-One Primer Paint – Good or Bad?
Compatibility is a key factor when it comes to deciding whether or not to purchase a two-in-one primer paint for any upcoming paint job. Given how much more expensive the product is, even compared to the price tag of purchasing primer and paint separately, one must know when its use would be either superfluous or to the detriment of the paint job.
The most suitable applications for primer paint are for very specific situations. Compositionally, the primer contains either an interior or exterior formula that is of a high enough quality that it increases the mixture’s stain resistance and adhesive qualities. Bare surfaces and surfaces that have been stained prior tend to work better with this combo formula. More importantly, you should use primer paint primarily as a means to repaint substrates whose surfaces are of the same or similar shades. This actually makes it pretty suitable for a touch-up job. You can also expect an easy cleaning job when working with this paint, allowing you to be less cautious about ruining your painted wall.
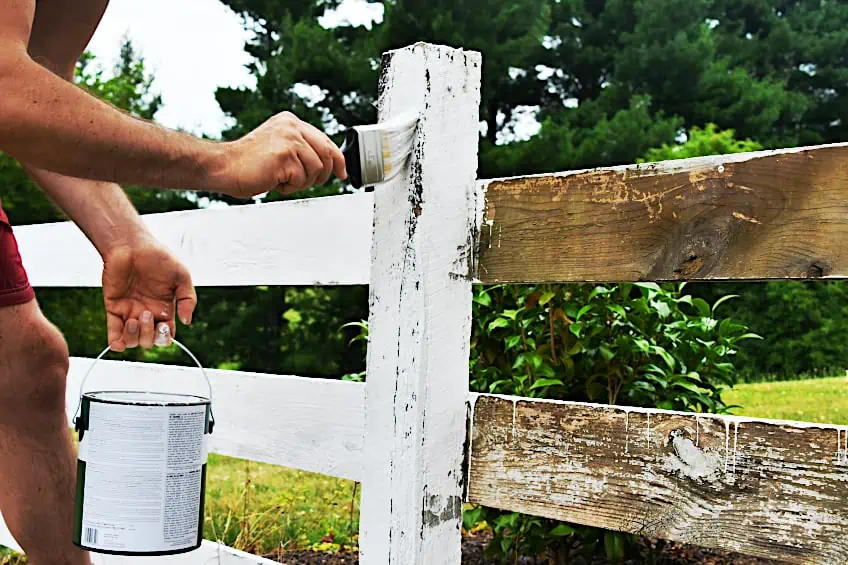
As noted so many times prior, primer paint only really works efficiently on so many surfaces. For instance, there are numerous surfaces it cannot be applied to simply because the substrate requires a specially designed primer that can block out color, provide a lower degree of adhesion, or deal better with corrosion. Primer paint simply cannot do it all. As always, recommend that you use a primer before painting always and under any set of circumstances. You can always apply this method to make sure that you afford yourself a better finish in the end.
It is also easy to accidentally deliver a thick layer during a coating with this material as opposed to paint on account of how much thicker it is. Your paint job, in this case, stands the risk of being ruined not only because it is applied unevenly but also because it does not work well on porous substrates in general.
Alternatives to Primer
You cannot really get around the use of a primer when it comes to achieving a successful painting project. It is literally in the name; it puts a surface in a prime condition for the application of paint or another form of topcoat. This being said, it is a different case when it comes to surfaces such as drywall. For this material, in particular, you can use several substitutes. For instance, you could use latex paint instead of primer to ready drywall for the application of paint. To do this, you would need to thin out your formula first by adding water to your latex paint. You must then apply the paint to the surface where it must be allowed to soak in.
Satin paint and flat finish are also excellent substitutes for primer. If there are any scratches, dents, or bumps on your drywall, these mixtures would be able to fill them up and allow you to produce a smooth surface. That being said, you might want to keep your eyes or for any indication of loose or peeling paint as this would be a sign of an incorrectly done job. In these cases, you are best off sanding and repainting. This process, however, requires more coats in total than were you to use a primer instead.
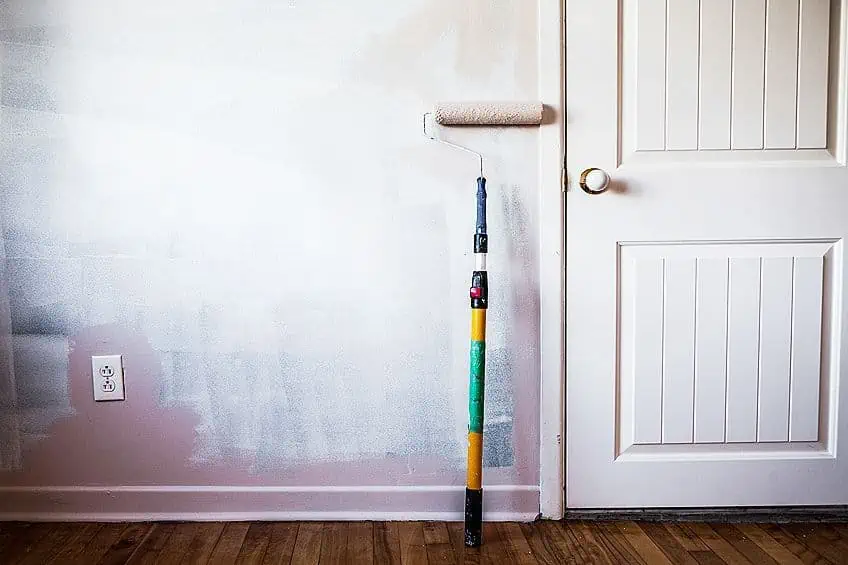
You could also choose to replace the use of primer with a material such as a drywall conditioner. It has the added benefit of also providing the surface it is applied to with protection against damage caused by dents and gouges. The formula is also designed in such a way as to protect the surface from the damage it may incur from the instruments used to apply paint. When it dries, the surface it leaves is both smooth and clear. Bumps and uneven patches should still be removed beforehand using sandpaper with medium grit. The next step should then be to apply a thinner grit of sandpaper to smooth things out properly. You can remove any remaining dust from the sanding using a soft rag.
How To Store Paint Trays In Between Coats
If you want to preserve any paint remaining on your tray, bucket, or pot while waiting for a coat to dry before you can apply another, you can keep your paint fresh by wrapping the containers with aluminum foil when not in use.
By storing your paint this way in between coats, you will prevent it from drying, which would lead to clumps, peels, flakes, or streaks forming on the surface of your substrate when the paint is applied. You can do the same thing with your painting utensils. Brushes and rollers can be wrapped in foil as well to keep them in a ready condition for when it comes time to apply the next coat.
Do You Have To Sand After Priming?
After you have primed a surface for painting, there is merit in giving it a bit of a sanding down before painting. However, the task is by no means mandatory but it will steer your work towards the perfect finish if paint filters into the surface of the wood, for example, you may find that the wood grain rises a little as it causes the fibers to swell. This could leave you with a dull topcoat, something that you can avoid by sanding your primer.
Keep in mind, however, that many people who work regularly with paint are fond of the aesthetic qualities it lends to their wood. If this sort of look is what you would prefer, you could skip this part of the process. If you would prefer not to be left with a dull finish, however, we would recommend that you give your primer a sanding before applying your paint above.
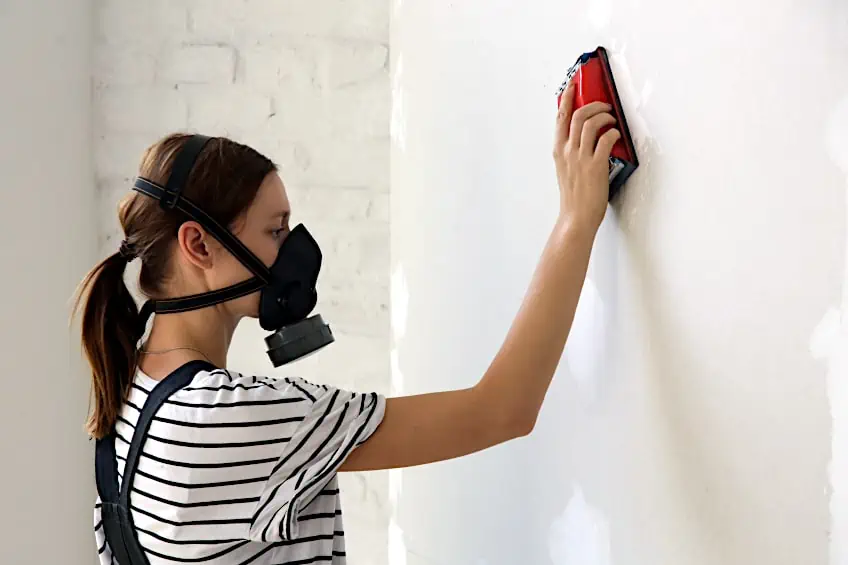
But how would one go about sanding wood that has been coated in primer? It is not that difficult if you consider that your main goal is to focus on any risen grain and smooth it down until it is uniform with the surface. Care should also be taken to ensure that the primer you are sanding does not lose its bond with the surface it has been applied to.
The grit of the sandpaper you use should be fine, with 220 being ideal. Otherwise, an orbital sander would do you well. If you are using the latter instrument, be sure to not adversely affect the natural appearance of your wood.
Two Coats of Primer vs. Two Coats of Paint
Any painting expert would tell you that it takes two coatings of paint at the very least for a job well done. The only exception to the rule would pertain to an instance where you would be repainting a surface with a color that is either the same or very similar to the prior finish. Primer is similar to paint in some aspects, but its key differences include transparency in its film and a higher ratio of resin to pigment. Additionally, it does not produce any sheen. The reason behind such a high amount of resin in the product is that it seals any porous sections of the surface. For wood, in particular, it prevents tannin knots and stains from forming and breaching through the surface of the finish.
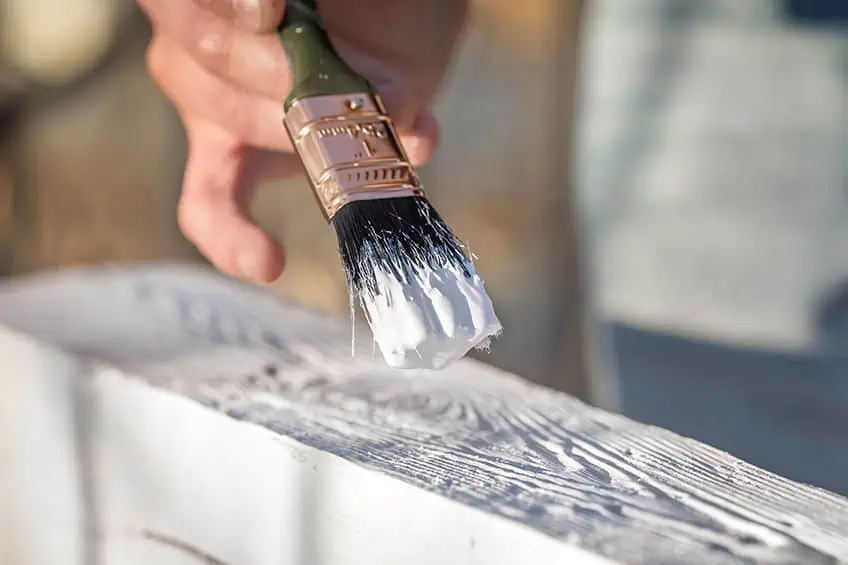
When it comes to how many coats of primer you should put down, you can generally get away with a single layer. As long as you make sure to cover the entire surface that you wish to paint, you are unlikely to encounter any issues after applying just one coat of primer. You do not even need to worry too much about applying a streakless or even coverage.
If, however, you can still spot knots and stains on your surface then you should strongly consider applying a second coat. Since it takes a while for this to show even before the first layer of primer dries entirely, you might jump the gun and not realize until you have already applied your first layer of paint. This is why we encourage you to follow the guidelines on how long to wait between priming and painting.
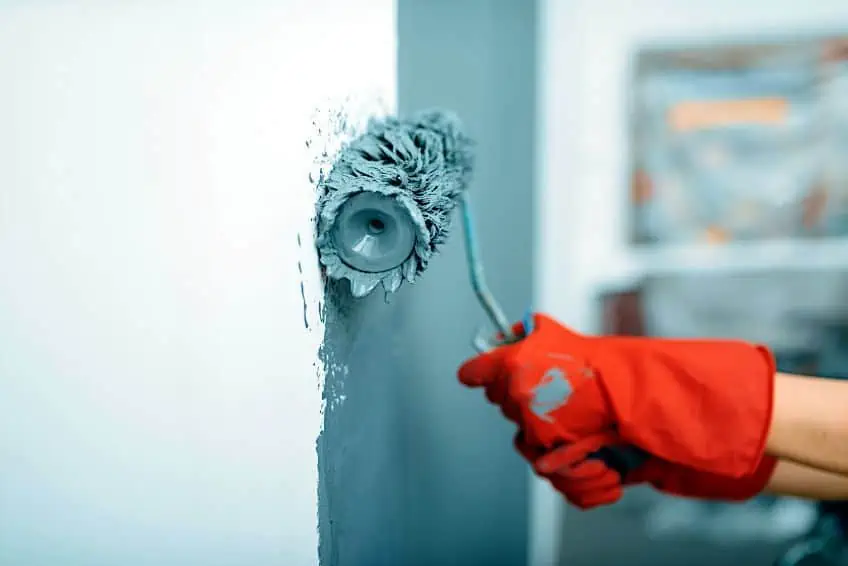
Additionally, it can be easy to tell that you require another coating of primer when repainting if the old color penetrates the first layer of primer. Mint green, sky blue, and similar colors can leave behind a decent finish even without the second coat. You might also want to add another coat of primer to change the tone of your final piece. With one coating, you have a strong sheen in the end product. You get something more akin to the texture of an eggshell after applying the second coat of primer before you paint.
If you are dealing with a blemished, damaged, or otherwise uneven surface, you are best off not skipping the second layer of primer. If you are repairing walls or patches, your safest bet would be to apply two layers of primer. If you are painting in an area with high humidity levels, you would also want to apply two coats to prevent the development of leaching and mildew in the future.
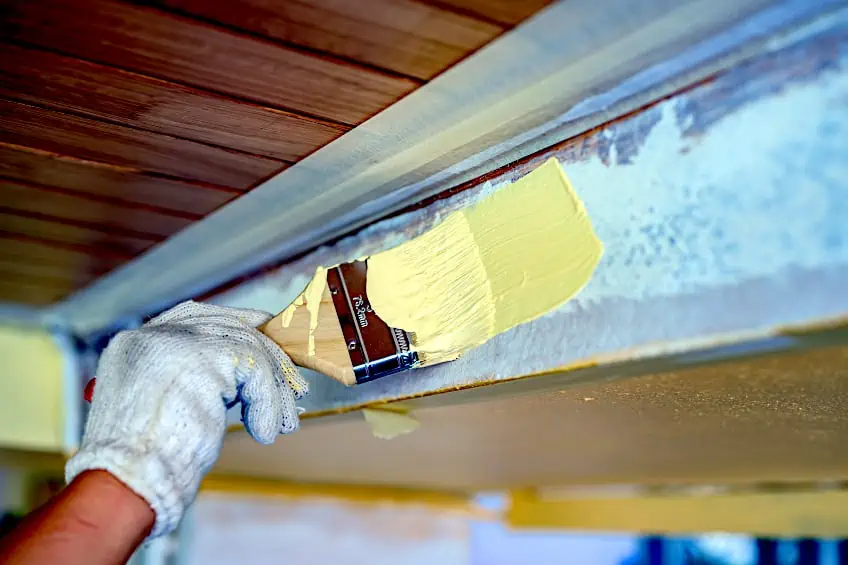
Congrats on expanding your knowledge of surface coatings. By now, you should know more about primers, their importance, and why it is so crucial to ensure that you allow it enough time to dry and cure before paint is applied as an overcoat. You will also know why you should not leave primer too long before applying a coating. We wish you the best of luck in your future DIY endeavors, and hope the information we have provided proves useful.
Frequently Asked Questions
Can I Use White Paint and Primer as a Primer?
You can indeed use white paint instead of a primer to prepare a surface for a topcoat paint job. In the long term, however, this ought to cost you in both money and time when you find yourself having to do touch-ups or repaint the workpiece entirely. There may be some rare occasions where white paint could work suitably as an alternative to primer, such as if you were applying the white paint to a surface that has in the past been primed and painted before. Thus, this may work in the case of a simple repainting job. If you are applying fresh paint to a bare surface, however, you are urged to opt for the use of a primer.
Can I Use Watered-Down Paint as a Primer?
Watered-down paint is not suitable as a primer. Besides being too wet to properly adhere to the surface it is being applied to, you would also struggle to get homogenous brush strokes going. Using watered-down paint for primer will not give you a uniform and even finish. Even after application and drying, water-down paint will also be difficult to sand down in hopes of achieving a smoother finish. If you are willing to throw absolutely anything to the wall in hope that something will stick, you could give it a go. In some cases, it may work better than nothing at all.
What Is the Difference Between Flat Paint and Primer?
Flat paint should typically be applied in a single coat for even coverage. You can also use it for a number of different tasks, such as drywall finishing. It has fair adhesive attributes and using it involves an uncomplicated procedure. It is often sold at highly competitive prices, meaning that you should be able to find it at a super cheap price for your next DIY project. Primer, on the other hand, improves the firmness of the bond between the surface and the topcoat to a much stronger degree. It also helps lighter-colored paint to be applied to darker surfaces without the shade losing any vibrancy. Primer does not provide immediate evenness on your substrate, but will not cause any issues with your final finish.


