Hand Lettering for Beginners – The Art of Beautiful Letters
This post may contain affiliate links. We may earn a small commission from purchases made through them, at no additional cost to you.
Hand lettering is the art of writing letters, words, and text in a particularly beautiful way. In this article, we will show you step by step how to learn decorative hand lettering for beginners, and how to create your own lettering as quickly as possible. We will also show you which materials you need for this technique and which pens are best suited for it.
Table of Contents
- 1 What is Hand Lettering?
- 2 Hand Lettering, Brush Lettering, and Calligraphy
- 3 Ready, Set, Go! Start Hand Lettering for Beginners
- 4 Learn Hand Lettering Basics
- 5 Common Mistakes in Hand Lettering
- 6 Fake Calligraphy
- 7 Bounce Lettering
- 8 Small Change – Great Effect
- 9 Practice, Practice, Practice…
- 10 Improve Your Everyday Life
- 11 How to Lettering Guide: Considerations
- 12 Suitable Hand Lettering Material
What is Hand Lettering?
So, first things first, what is hand lettering? Simply, hand lettering is a way of artistically writing out letters by hand. It is a creative way of making your writing beautiful, and developing attractive handwritten font styles. Follow our hand lettering guide below for more information on what is hand lettering and how it is done.
Hand Lettering, Brush Lettering, and Calligraphy
I understand hand lettering as a generic term for the artistic design and writing of words or sentences. This can be done with every imaginable writing medium and usually consists of several different fonts. Brush lettering is written with a brush pen or a real brush. This writing style is characterized by the contrast of thick and thin lines. This is the focus of the article. Calligraphy, the art of writing with pens, developed into “modern calligraphy”, the so-called hand-lettering technique. However, anyone who has learned calligraphy will not automatically be able to do brush lettering.
Ready, Set, Go! Start Hand Lettering for Beginners
Would you like to learn hand lettering for beginners? Our hand lettering how to guide below will teach you everything you need to know – from the right techniques to the proper pens to use.
First Things First
It is important to write slowly. If you watch videos of brush lettering, they usually don’t run in real-time, but were made faster. Don’t be put off by this and take your time to write the letters slowly. This is an important step for hand lettering for beginners. Real-time lettering:
Brush lettering also has nothing to do with the type of handwriting from school. It’s where you write everything together without stopping. But here it is important to remove the pen from the page after the individual letters or elements and then reattach it. This technique resembles painting more than writing. For any hand lettering how to basics, taking the process slowly is always necessary.
Learn Hand Lettering Basics
The most important rule for hand drawn lettering is: downward stroke = thick and upward stroke = thin. If you make a downward stroke with the pen, press firmly to achieve a broad stroke (don’t worry, the pen can take it), if you make an upward stroke, just touch the sheet with the tip of the pen, so you get a thin stroke. When starting out, your thin strokes will still be shaky and uneven, but with more practice, this gets better and better. Your hand muscles have to “program” themselves and suddenly you will just get the hang of it! Therefore it is important to practice a lot and to build up your muscle memory.

These eight basic strokes are the building blocks of the classic hand drawn lettering alphabet. From these, you can then put the letters together. Especially in the beginning, it is important to practice these basic strokes again and again. If you can always write the elements the same way, your words will look more even and harmonious afterward. Keep a practice sheet so that you can compare and see your progress a few weeks later.
Composition of the Base Lines
After you have practiced the basic strokes (please do not neglect this!) you can put them together and write your first letters from them. Here are a few hand drawn lettering examples:

Common Mistakes in Hand Lettering
There are a few things to consider so that the hand drawn lettering also looks great. If you avoid these mistakes, your letters and words will look harmonious and correct. When learning hand lettering for beginners, it is important to know where you can commonly go wrong.
The Font is Not Parallel
Make sure that the strokes are all parallel: within the letter and across the whole page.

Thick and Thin Strokes in the Wrong Place
Make the thick smears and the thin spreads in the right place.

Wrong Line Width on the Baseline
When the stroke reaches the “bottom” or the baseline, it should already have the width of the thin stroke.

Interspaces are Not Uniform
Pay attention to the width of the gaps. This should always be uniform.

Fake Calligraphy
If you don’t have a brush pen or brush at hand, you can also resort to faux calligraphy. To do this, first, write the desired word normally and then draw the thick line from the strokes and paint it or make other beautiful decorations.

Bounce Lettering
If you have the “simple” lettering down already, then you can also bring more life into your words. You can make the letters dance. You make the second stroke of one letter longer than the others. You can find many helpful videos on YouTube about bounce lettering with good explanations, tips, and tricks.

Small Change – Great Effect
Quickly and easily, you can adjust the so-called center length or X-height of your alphabet. Then you will immediately get a different alphabet with a different effect. This is mainly applied to the alphabet without the brushpen technique. Try it out with different fonts, it’s fun.

Practice, Practice, Practice…
Unfortunately, you can’t get around practicing to learn hand lettering. On the internet, there are many sites that offer free practice sheets. You can print them out and start right away (but first read the chapter on materials and hand lettering paper). You can also buy exercise books and write in them or put a piece of lime paper (tracing paper) on top of it and write on top of it. This has the advantage that the book remains blank, and the lime paper is very fine so your brush pens won’t break.

Improve Your Everyday Life
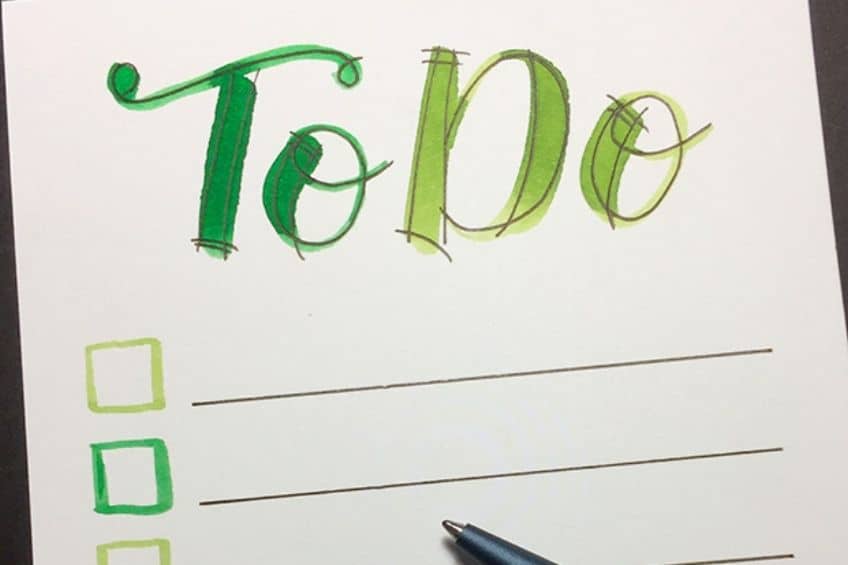
Practice is important, but writing only on the practice sheets soon loses its fun. Try to integrate your lettering into your everyday life. Below is a list of some ideas and inspiration. Further exciting hand lettering projects can also be found online.
- Shopping list
- to-do list
- Post-it for your loved one
- Label for homemade jam
- Place cards for the guests
- Greeting cards
- Door signs
How to Lettering Guide: Considerations
There are many small details to hand lettering and getting everything perfect. When starting out, here are some important things to keep in mind in order to get the best results possible. Be sure to follow this hand lettering guide for best results.
Frayed Brushpen Pens
Unfortunately, the tips of the felt brush pens are sensitive and will fray if used incorrectly. Then the pens are unfortunately no longer usable for beautiful lettering. They no longer draw nice thin lines. But you can still use them for practicing or painting without any problems. Some are very sensitive, and others are more robust. To make sure that you enjoy your pens for a long time, you can take note of the following:
The Proper Hand Lettering Paper
Use a very smooth, fine hand lettering paper (satinized/coated). There are special papers developed for effective hand lettering. Some copy papers are also suitable for practicing. See our recommended materials for which products are most suitable.
The Correct Brushpen Pen Position
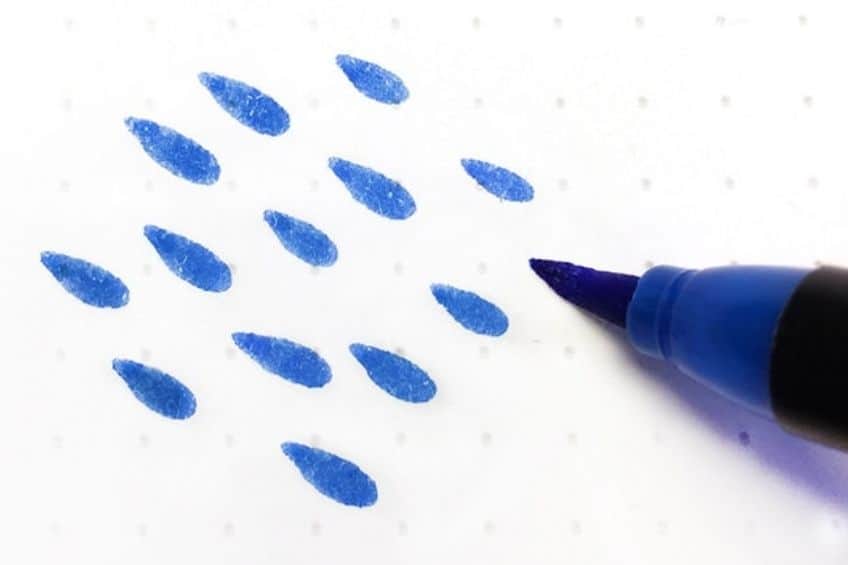
You can test the correct position of the brush lettering pen by holding it normally in your hand (approx. at an angle of 45 degrees) and pressing it onto the sheet. There should be a nice drop here.
Getting the Right Ovals
When writing all symbols where you have to push the brushlettering pen and not pull it, e.g. the O, it is most stressed and the danger is high that it will break easier. That’s why it is important to push the pen very gently and only after the apex of the pen to make the thick smear. Here is a detailed hand lettering guide video on this topic:
Change Brusphen Tips
If you do have a frayed pen tip, you can carefully pull the tip out with tweezers, turn it over, and put it back in again. But beware, this does not work with every pen. I know that this is certainly possible with the Edding Brushpen 1340, Pitt Artist Pens from Faber Castell, or the Ecoline Brushpens.
Suitable Hand Lettering Material
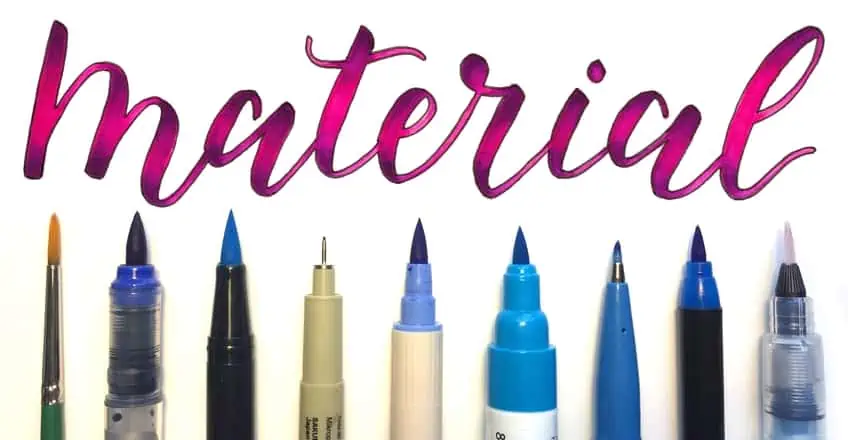
In order to create beautiful letterings, you will need a few materials and tools. If you would like to learn more about them, take a look at our hand lettering guide material section below.
Large and Small Brushpens
Your brush lettering will be adapted to your pen or to the size of the tip. So if you have a big brush pen, you write in capital letters. For small letters, you use small brush pens.
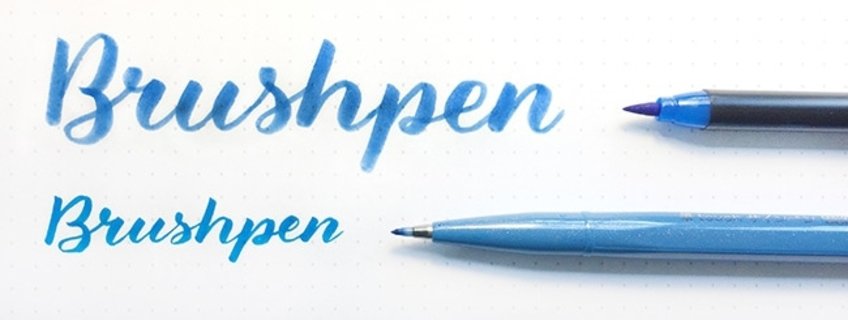
I recommend these brush lettering pens or brushpens for the beginning. They are inexpensive, of good quality, and can be guided easily when writing:
High-Quality Brushes
Brushlettering is also possible with a more traditional brush that allows you to create great color effects. The handling of a brush takes some getting used to and plenty of practice because writing is very different with it.

I recommend you to buy high-quality brushes right from the start, it’s worth it and it makes a big difference when you learn how to hand letter. They will also last longer, are easier to use, and will provide more beautiful results.
Lightfast Colours and Brushpens
What often gets a bit lost – I think – is the light-fastness of the colors in the pens. Unfortunately, most of the current pens on the market do not contain any lightfast color. So if you want to hang up your works of art, I strongly recommend you to use lightfast colors. Otherwise, the colors will change in the long run when exposed to UV-rays (sunlight). Either you can write with a brush and high-quality watercolor (they are usually all lightfast) or, for example, with the following lightfast brush lettering pens:
Hand Lettering Paper
Use a very smooth, fine paper (calendered/coated). There is a special hand lettering paper, which was developed just for this. Some copy papers are also suitable for practicing. This paper is cheap and very smooth. It is good for practicing with brush pens and brushes and, exercise sheets can be printed on it. When you learn hand lettering for beginners, having the right paper is an important place to start.
Hand Lettering Book Recommendation
Books are also a great choice for providing you with helpful tips, techniques, and templates when learning hand lettering for beginners. These books come highly recommended to help you develop in hand lettering. They provide a great how to lettering framework.
Hand lettering is an impressive skill to learn that you can apply to all kinds of things in life. Just remember that practice makes perfect, so keep on writing and enjoying this creative style of writing. Hand lettering for beginners is also loads of fun, so enjoy the process. The more you do it, the better you will get!

Marianne Baumann
Marianne Baumann lives in Switzerland, is married and mother of 3 children. Originally she is a trained computer scientist, but currently works as a graphic designer and layout artist. Painting and designing (by hand or digitally) fascinated her from an early age and she tried many things. After compulsory schooling, Marianne attended the one-year preliminary course at the Zurich University of the Arts. In addition, she has always had orders for graphic layout of wedding cards, birth cards or flyers and brochures. For a long time, photography was in the foreground - but was almost replaced by the sewing machine when she became a mother. Since the fall of 2018, Marianne is now engaged in hand lettering. Because she never had the appropriate greeting cards ready at home, she had the idea to make them herself. It did not take too long and the whole thing has grabbed her - of course, it did not remain with the greeting cards. A lot of things are now "lettered" for fun, exercise and embellishment. In addition, it is a relaxing balance to children and everyday life.


